Connect SFTP
Import your workers and the credentials they hold from a CSV or Excel file that another system drops onto an SFTP server. You point Oho at the server once, and Oho reads the file on the schedule you choose — so each fresh export keeps your worker list up to date with nothing to upload by hand.
It's the go-to option when a payroll, HR, or rostering system can export a file on a regular basis but doesn't have a direct connector. If you'd rather host a single file yourself, Excel reads an .xlsx from OneDrive; if the data lives in a shared sheet, Google Sheets reads it live.
Your whole workforce in Oho — each person a worker, with their credentials added and checked — kept in step with whatever system writes the file, without maintaining two lists.
Before you start
SFTP is a little more technical than a file upload — it involves a server address, a username, and either a password or an SSH key. If you don't run the server yourself, set this up with whoever does, usually your IT team or the exporting system's vendor.
You'll need:
- Your workers and the credential details you hold for them — names, dates of birth, organisation, and any card or registration numbers — exported to a CSV or Excel file in Oho's template format, dropped at a known path on the server.
- The connection details for the server — its address, a username, a password or SSH key, and the file path. See Step 1.
- Someone with admin access in Oho to add the integration (the Data Sources menu is admin-only).
Step 1: Get your auth details
The server's connection details, gathered from whoever runs it. These come from the SFTP server, not from Oho.
Collect four things from your server administrator: the server address (a public hostname such as sftp.example.com), the username Oho signs in as, a password or SSH key, and the file path where the export lands (such as /uploads/workforce.csv).
For the full walkthrough — including SSH keys, passphrases, and the requirement that the server be reachable from the internet — see Get your auth details → SFTP server details.
Technical detail: keys, passphrases, and reachable hosts
- An SSH private key is more secure than a password and is the better choice where the server supports it. If the key is passphrase-protected, you'll need the passphrase as well.
- The server must be publicly routable. Oho refuses to connect to internal or loopback addresses (such as
localhost,127.0.0.1, or private ranges like10.xand192.168.x) as a safety measure. If the server is only reachable inside your network, IT will need to expose it publicly or you'll need a different source. The error "Host must be a publicly routable address" means this check failed. - Oho stores the password or key as an encrypted secret — you paste it once in Step 2 and it's never shown in plain text again.
Hand these points to whoever administers the server; a non-technical admin can skip them.
Anyone with these credentials can reach the files Oho reads, which contain worker PII. Share them only through a channel your organisation trusts, never in email, chat, or a ticket, and ask your server admin to rotate them if the connection is ever removed.
Expected outcome: you have the server address, username, a password or key, and the file path, ready to paste into Oho.
Step 2: Connect it in Oho
In the left menu under Admin, open Data Sources, then start a new integration.
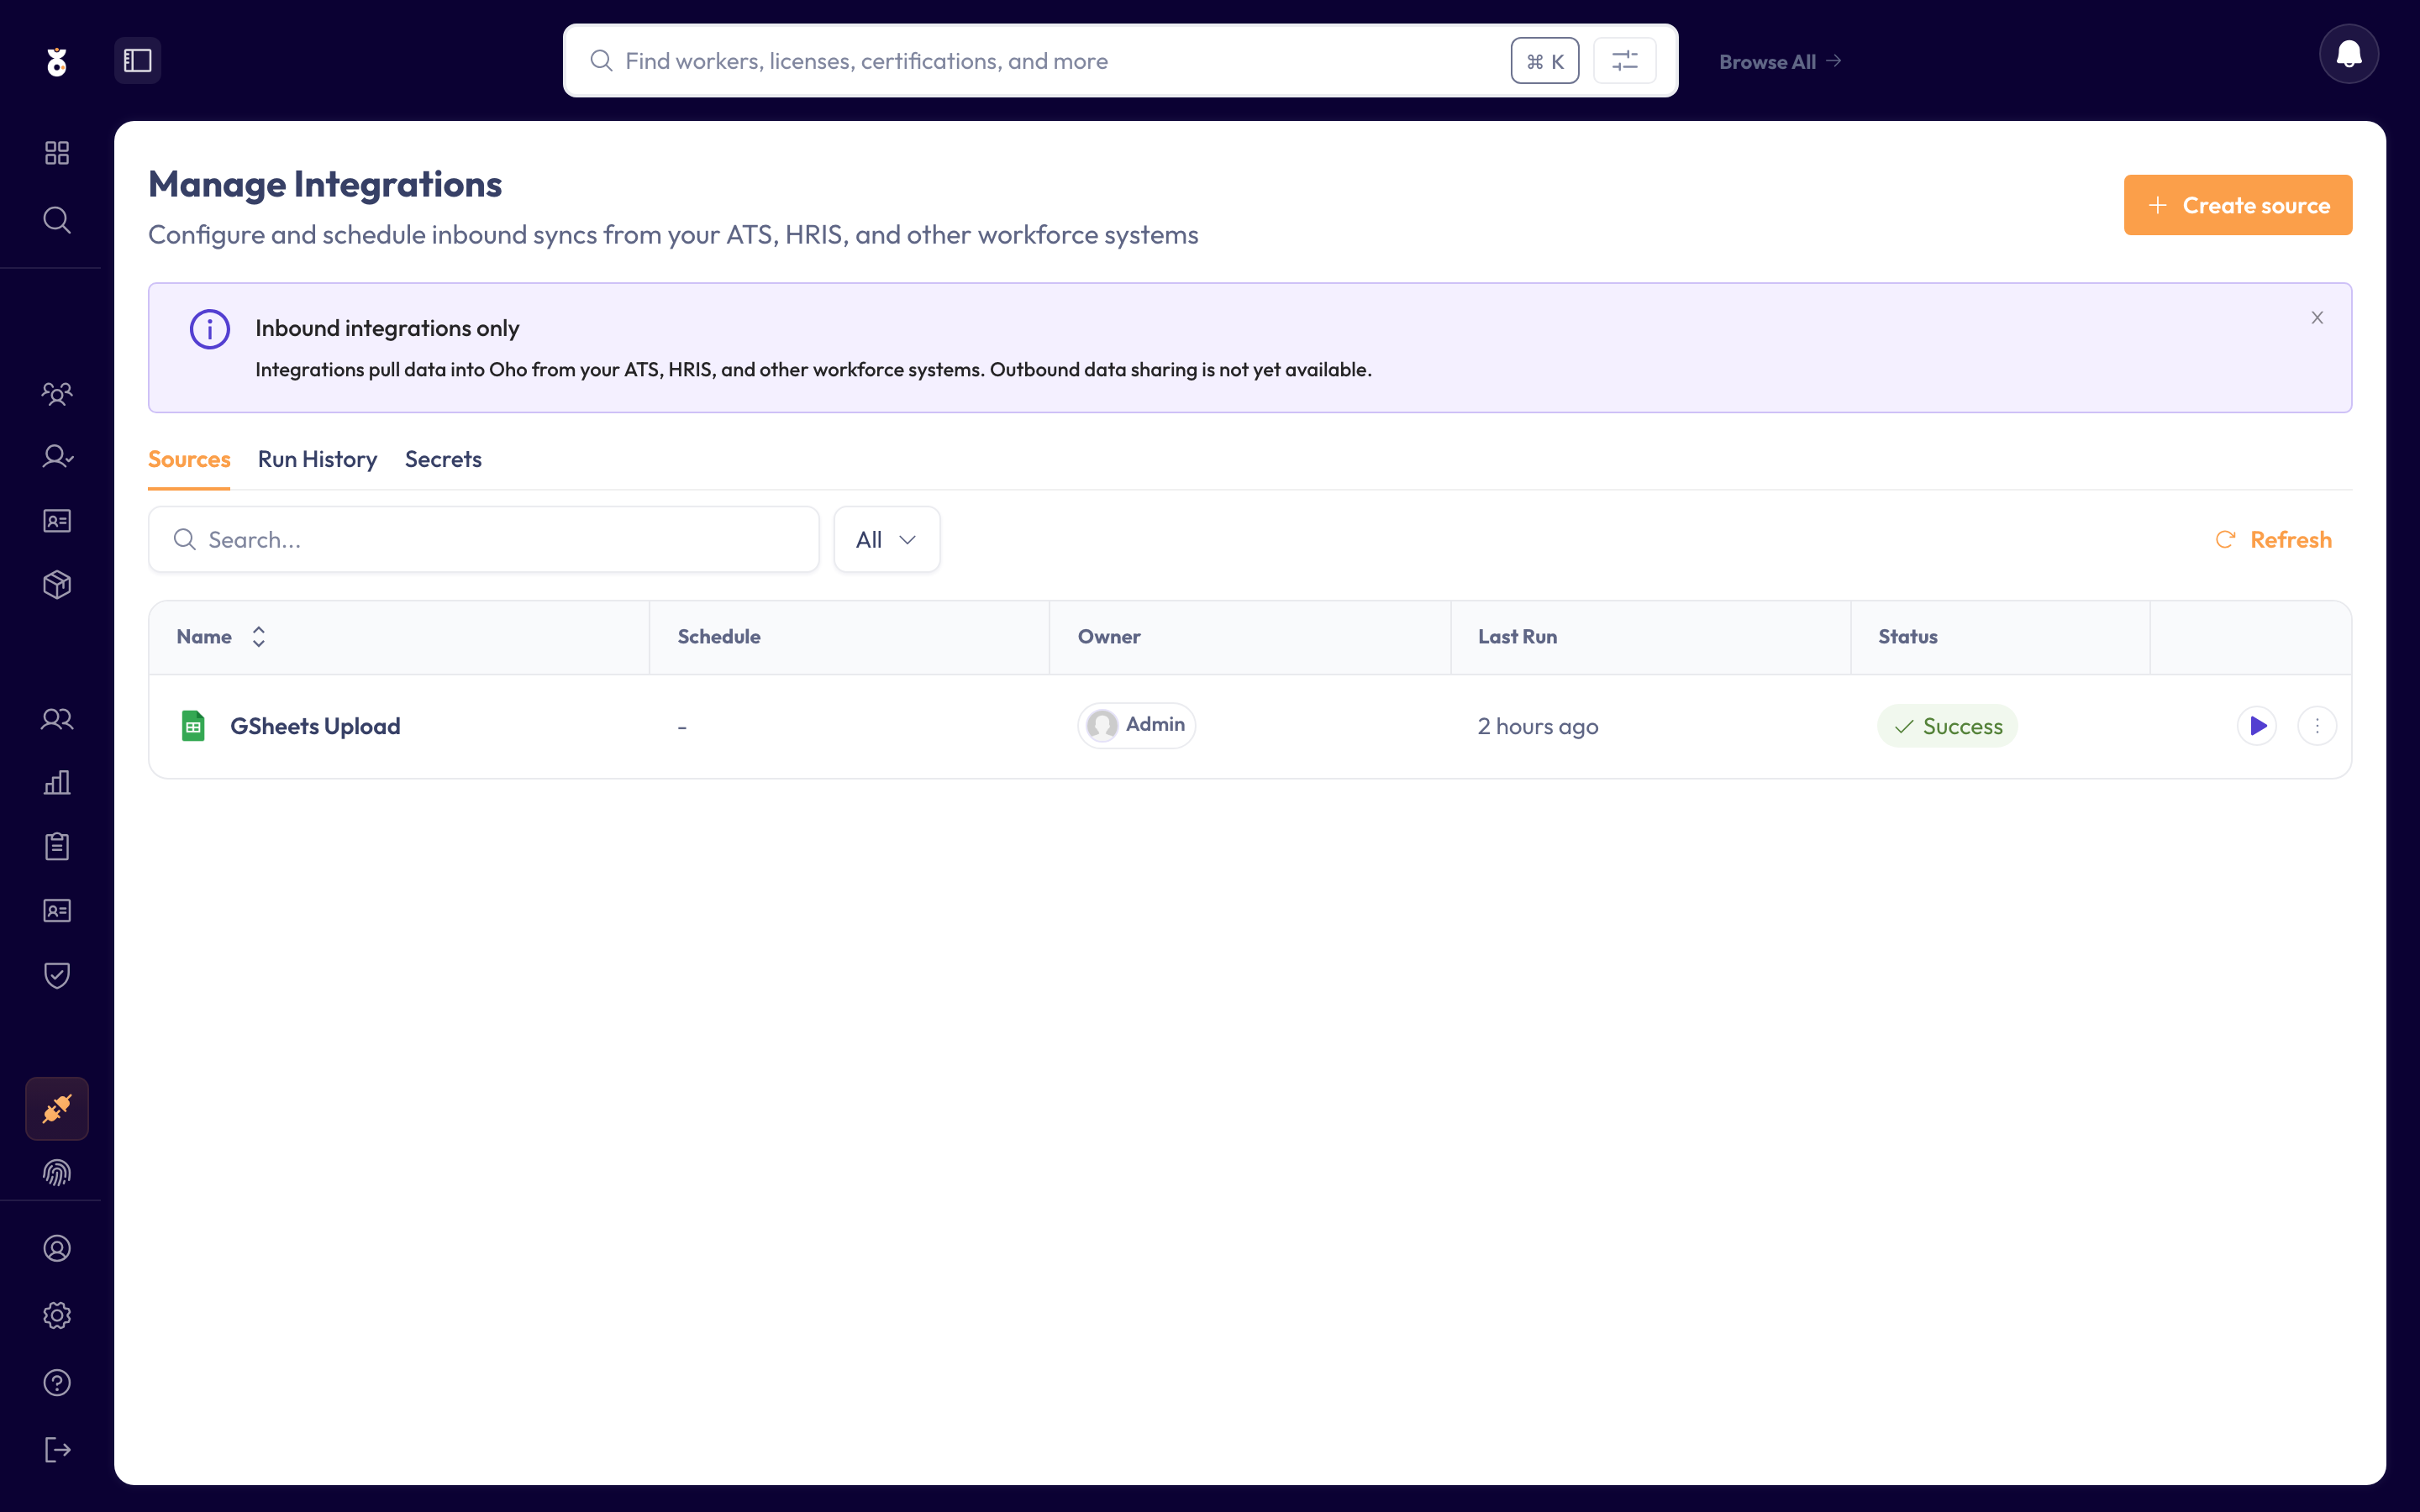
Pick SFTP from the list of sources.
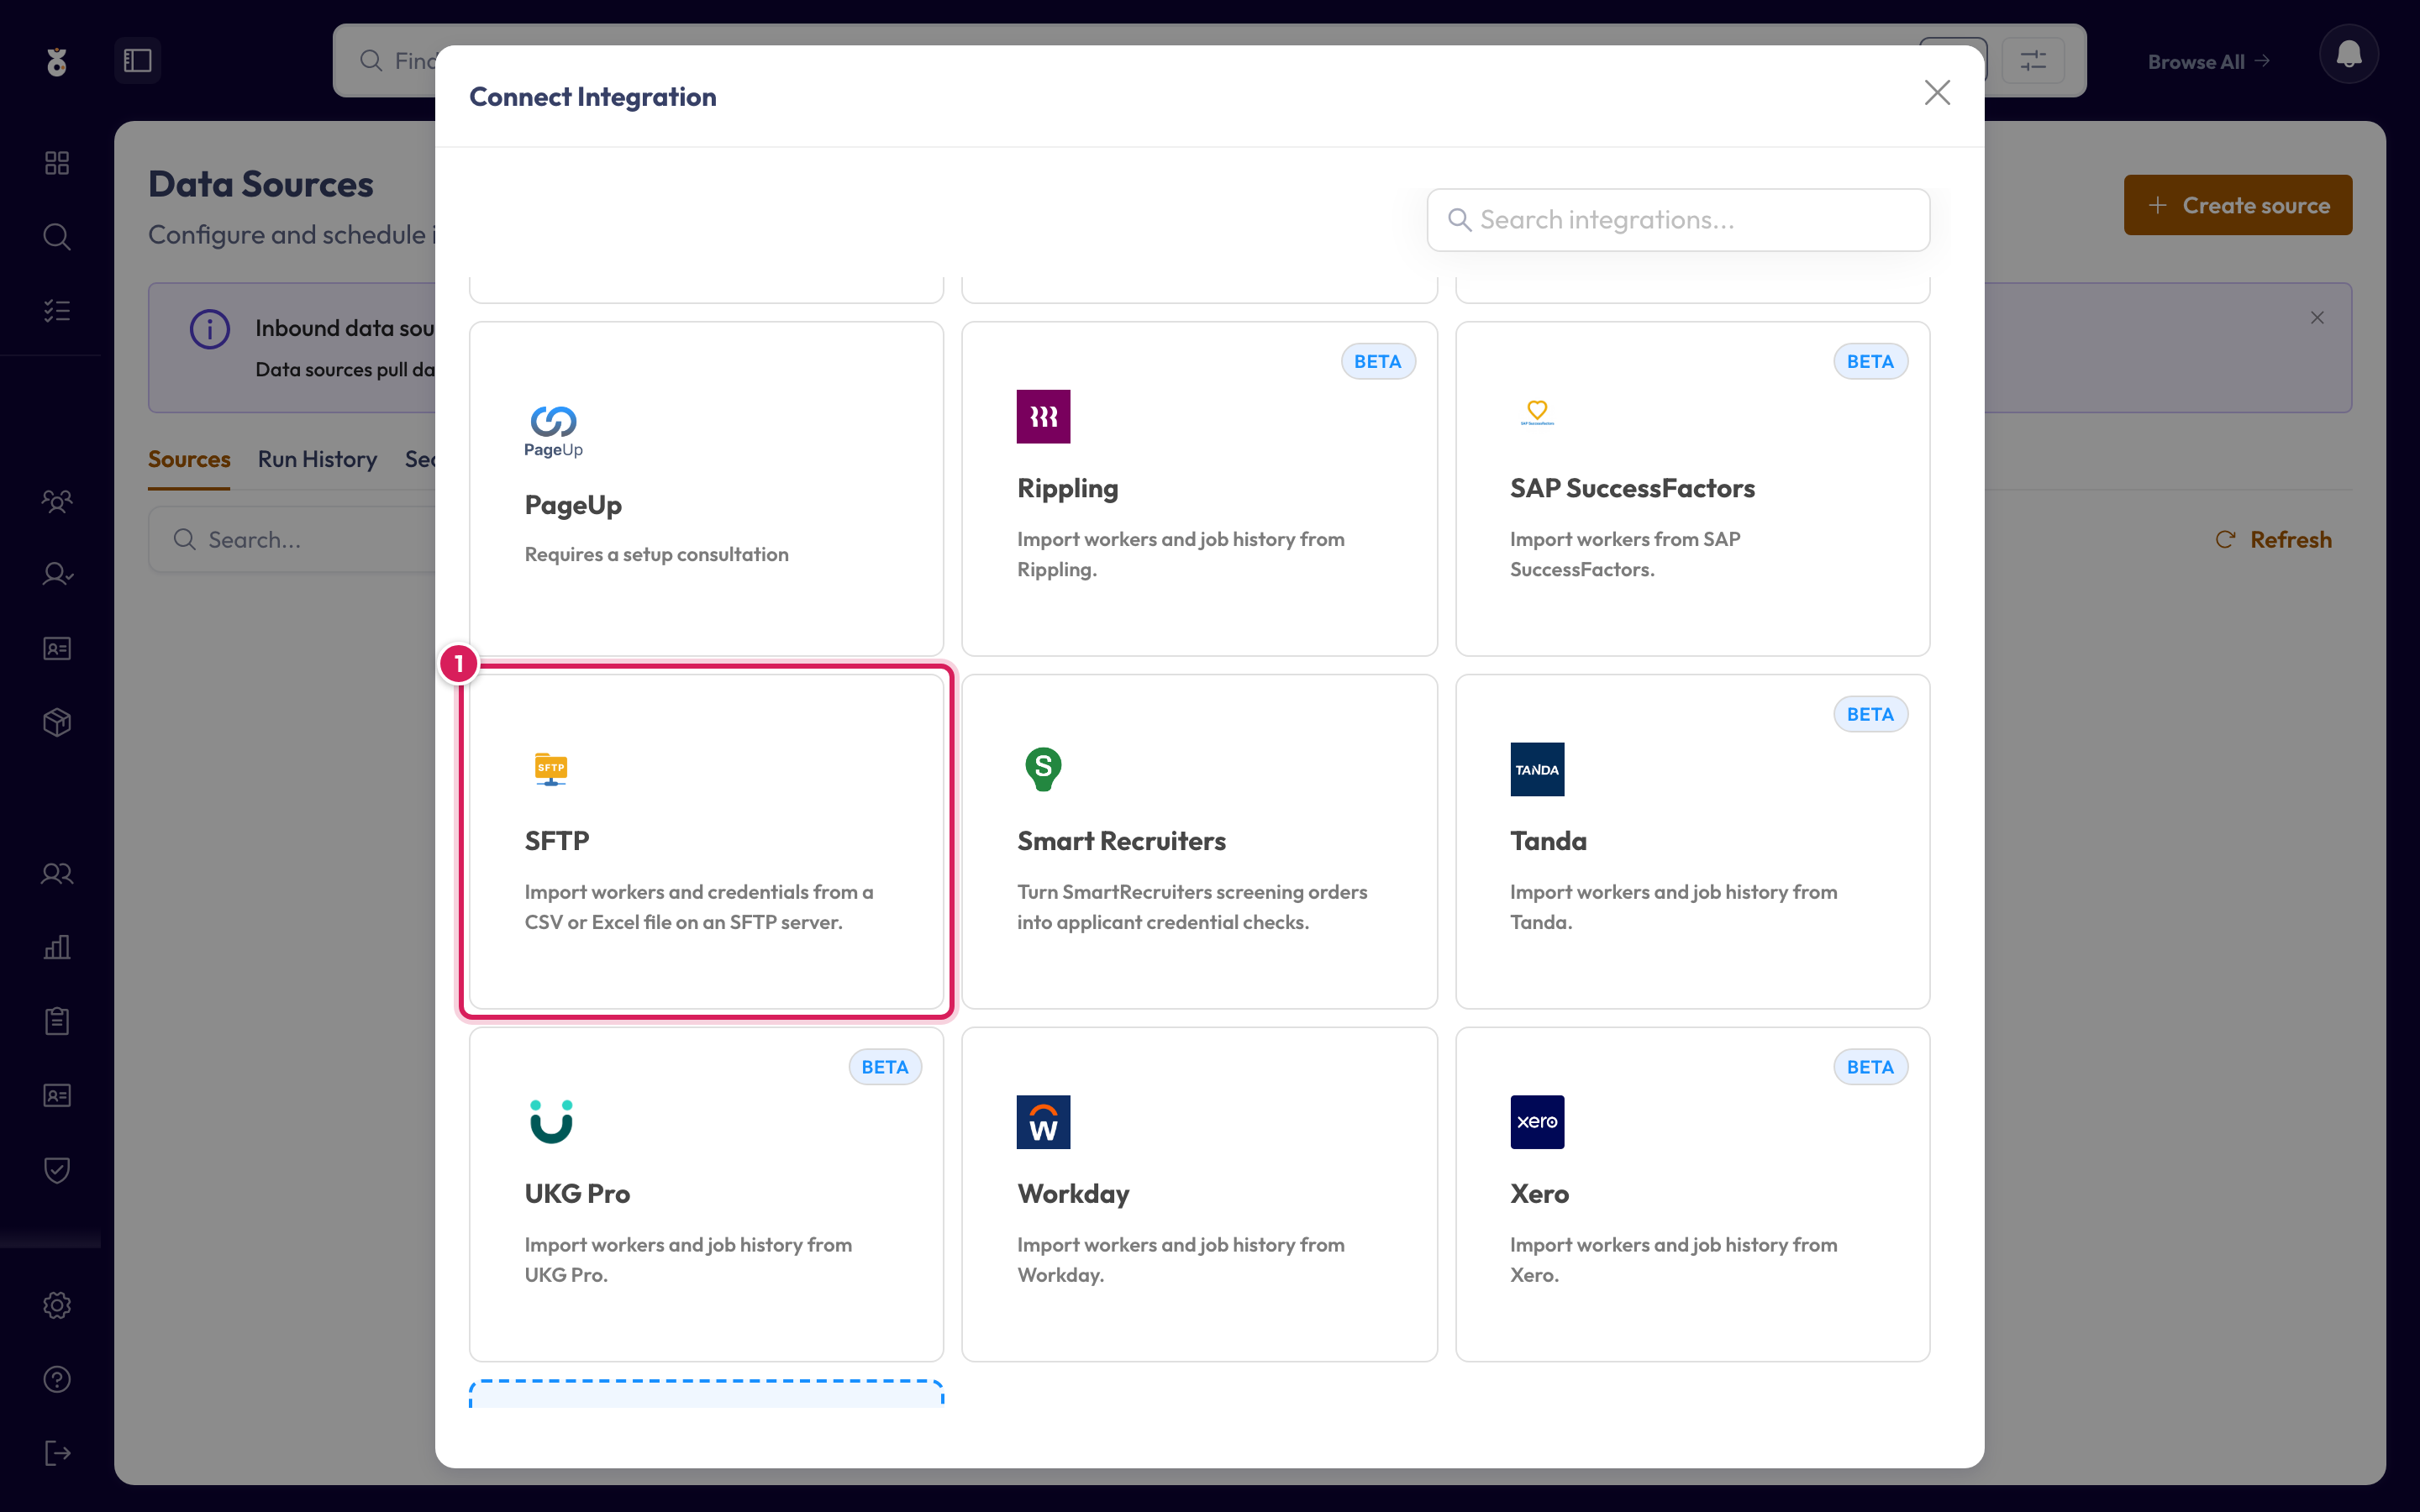
Enter the connection details from Step 1 under Connection — the SFTP Host, Remote File Path, and Username — then add the password or SSH key. Port (usually 22), the Private Key and its passphrase sit under Settings just below, which starts collapsed. Credentials are stored as secrets: use the Create Secret button beside the field to save the password or key the first time. For an SSH key, the key field's Create Secret dialog includes a Load from file option so you can upload a .pem rather than pasting it.
Click Test Connection to confirm Oho can reach the server and sign in, then click Next.
Expected outcome: Oho confirms the connection and moves you on to field mapping.
Step 3: Map your fields
Each row in the file becomes a worker (or updates one who already exists), and the credential columns become that worker's credentials.
Worker ID is the match key. For file imports, Oho recognises a returning worker by their Worker ID — the identifier they already have in your HR or payroll system — so it updates the right person on later runs instead of creating a duplicate. Oho does not match on email. Every worker row needs a Worker ID, and each credential row carries the same Worker ID to attach it to that worker.
Keep the column headings exactly as they come in Oho's template so Oho can read them. For every column, what it expects, and which are required, see the Spreadsheet column reference. For how credentials tie to a worker and how re-syncs avoid duplicates, see the shared Map your fields reference. For an at-a-glance summary of what this connector imports, see the SFTP integration page.
Rows without a Worker ID, or with a renamed or missing required heading, can't be mapped and won't import. Add your data under the template headings as they come — don't edit them — and make sure every row has a Worker ID, and that credential rows reuse the Worker ID of the worker they belong to.
Expected outcome: every row you expect to import maps to a worker, and each worker has a Worker ID set.
Step 4: Set the schedule
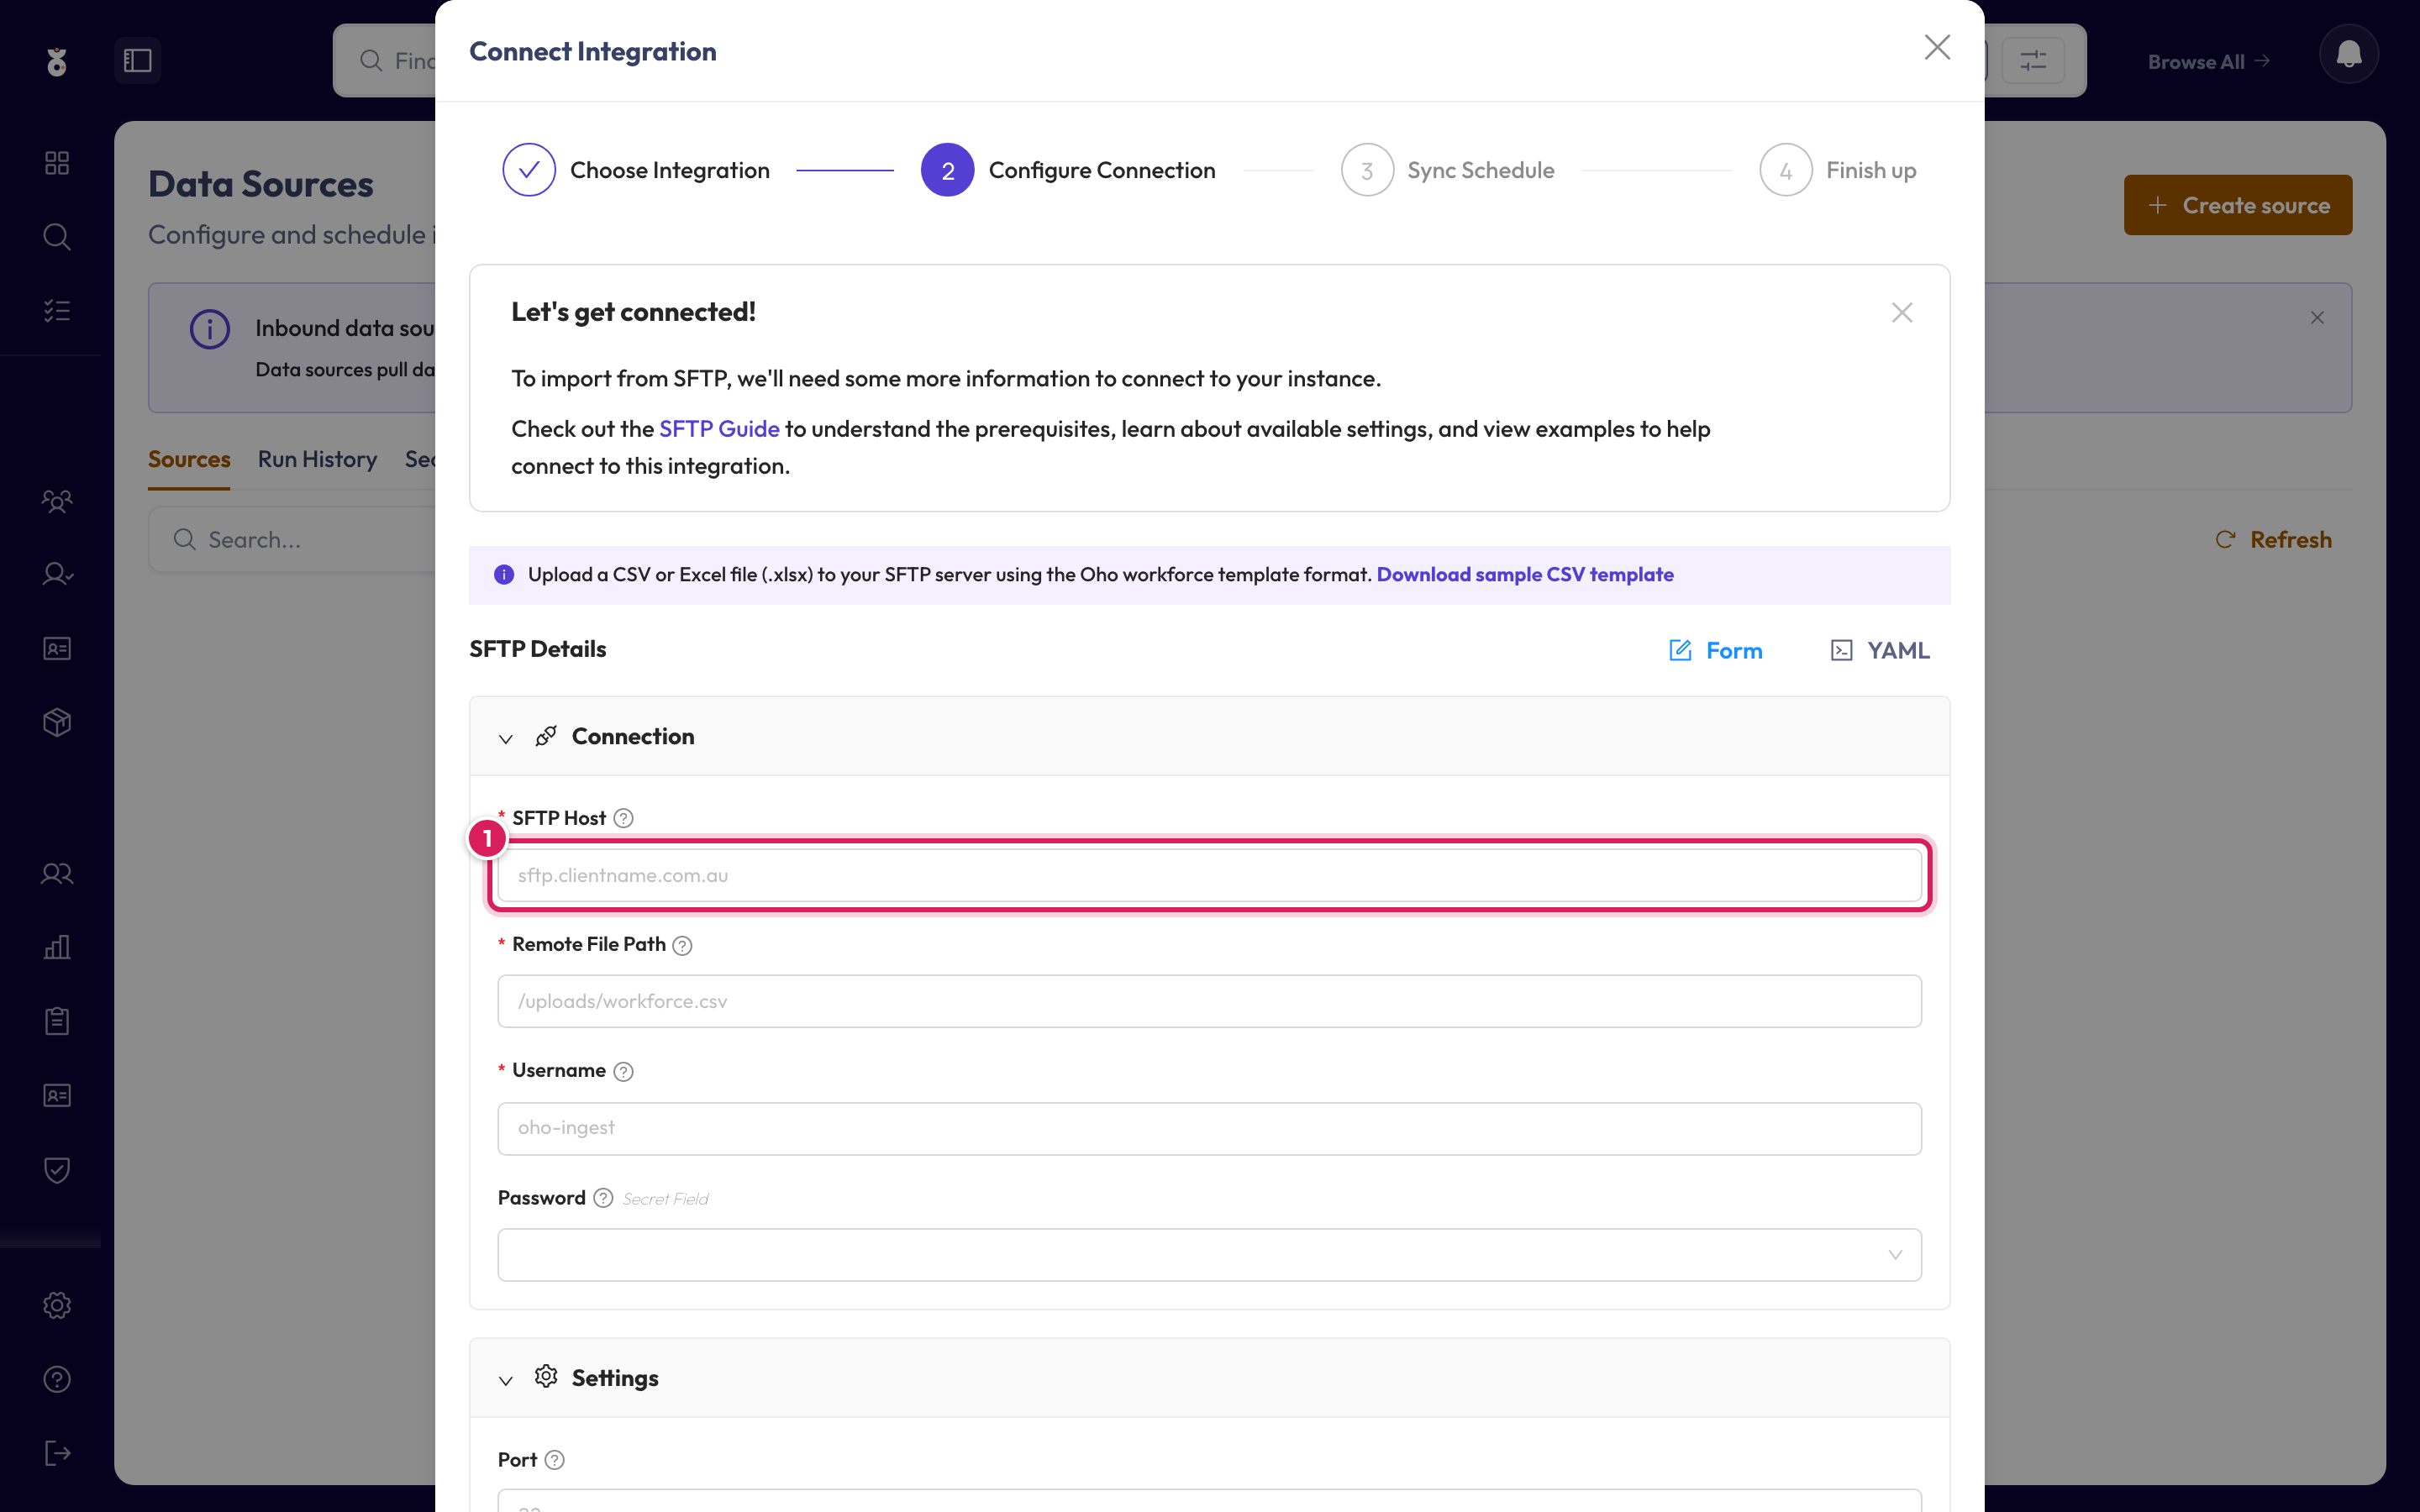
Choose how often the sync runs, then name it and save.
- Once — a one-off load to get started. Oho reads the file at the path once and creates your workers.
- Recurring — Oho re-reads the file on a schedule, so each new export the source system writes flows through automatically with nothing to re-enter. The server credentials must stay valid for future runs, so keep the password or key current and ask IT before rotating it.
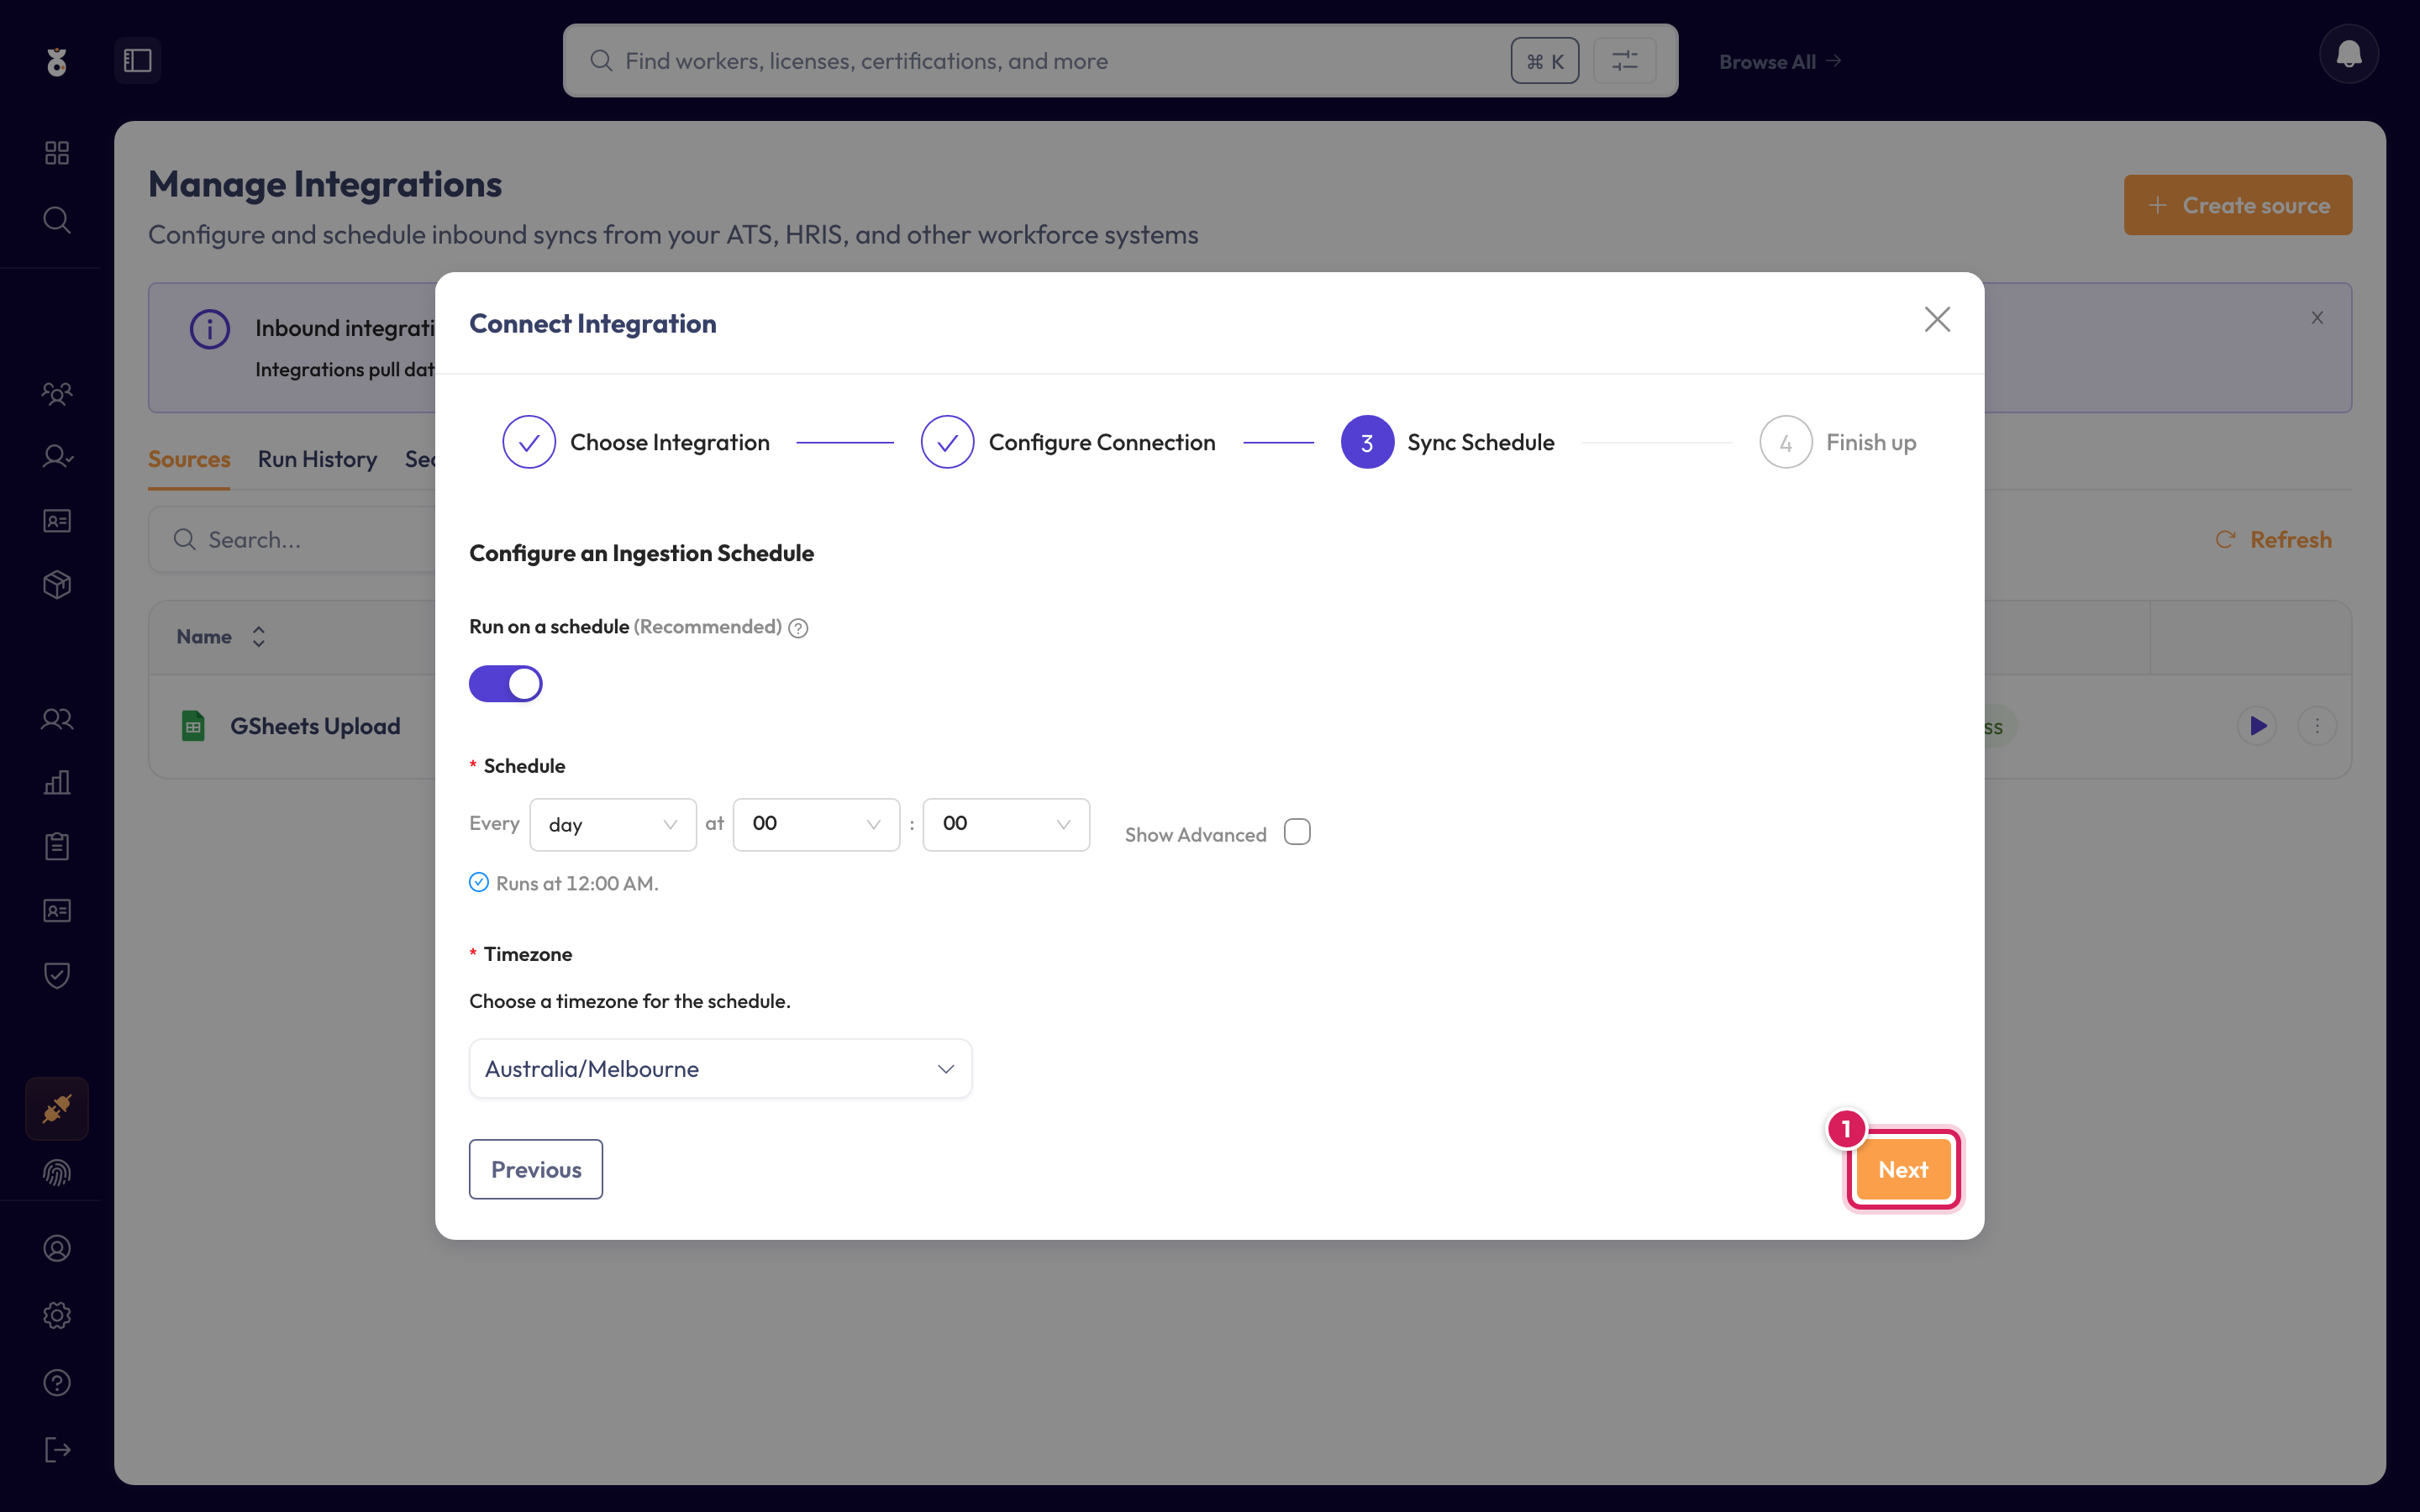
Expected outcome: the connection is saved and scheduled, and appears in your Data Sources list.
Step 5: Run & verify your first sync
Run it now with Save & Run, or wait for the first scheduled run. Once it's run, confirm your people are in: they appear under All Workers, and each credential you listed is checked against its official source straight away (see One-off verification).
If the run didn't bring everyone in, check the run history and the Common questions below.
Expected outcome: your people are in Oho under All Workers, with their credentials queued for verification.
What happens next
- Your people appear under All Workers, ready for checks.
- To keep those checks current, add a verification source for the credential types you hold — synced credentials then verify at the register automatically.
- If you set a recurring schedule, you don't re-import by hand — the source system writes a new file and Oho picks it up on the next run.
Common questions
The sync found nothing. Check the file path is exactly right and that the export actually landed at that path, and confirm the server credentials are still valid.
"Host must be a publicly routable address." The server address is internal or loopback. Oho only connects to publicly reachable servers — ask IT to expose it publicly or use a different source. See the technical detail in Step 1.
"Authentication failed." The password or key is wrong. Re-check the secret value; for an SSH key, confirm the format and, if the key is passphrase-protected, that the passphrase is set.
Some rows didn't import. Make sure the column headings still match Oho's template, and that every row has a Worker ID — see Step 3.
I don't see Integrations. This is an admin area — if it's not in your menu, ask an admin in your organisation, or contact support@weareoho.com.
Related
- SFTP integration — what the SFTP connector imports, at a glance
- Add a data source — all the ways to bring data into Oho
- Excel — the same import, from a single hosted file