Connect ELMO
Import your workers and their job history from ELMO, the HR and payroll platform. You connect Oho to ELMO once, and Oho creates your workers and keeps them in step with ELMO on the schedule you choose — so people don't have to be added in two places.
This connector is still being rolled out. It imports workers and their job history, along with worker status and organisation details. If you hit something unexpected, contact support@weareoho.com.
Your ELMO people in Oho as workers — each ready for credentials to be added and checked — kept in step with ELMO, without maintaining two lists.
Before you start
You'll need:
- Your people already recorded in ELMO, with the details you want in Oho — their names, contact details, and job history.
- An ELMO admin account, or someone who has one, to create the API credentials in Step 1.
- The ability to grant those credentials read access to employee data in ELMO.
Step 1: Get your auth details
An admin login to ELMO. The API credentials are created inside ELMO, not in Oho.
ELMO uses the API key pattern: your administrator creates an API application in ELMO, which issues a Client ID and Client Secret that Oho uses to sign in.
- In ELMO, open the API / integrations area and create a new API application (or API credential).
- Copy the Client ID and Client Secret — the secret may be shown once.
- Make sure the credential is granted read access to employee data.
Technical detail: authentication & permissions
Hand these points to whoever administers ELMO — a non-technical admin can skip them.
- Auth mechanism. Oho authenticates to the ELMO API with the Client ID and Client Secret. [Eng to confirm whether this is an OAuth client-credentials grant or a direct key, and the exact token endpoint.]
- Least privilege. Grant the credential read-only access to the employee data Oho imports, and nothing more. [Eng to confirm the exact ELMO permission/scope names.]
- Where secrets live. Oho stores the Client Secret encrypted, referenced by a stored secret ref.
The Client Secret grants ongoing access to worker PII for as long as it's valid. Never post it in email, chat, or a ticket, and regenerate it in ELMO if the connection is removed or someone with access to it leaves.
Expected outcome: you have your ELMO Client ID and Client Secret copied, ready to paste into Oho.
Step 2: Connect it in Oho
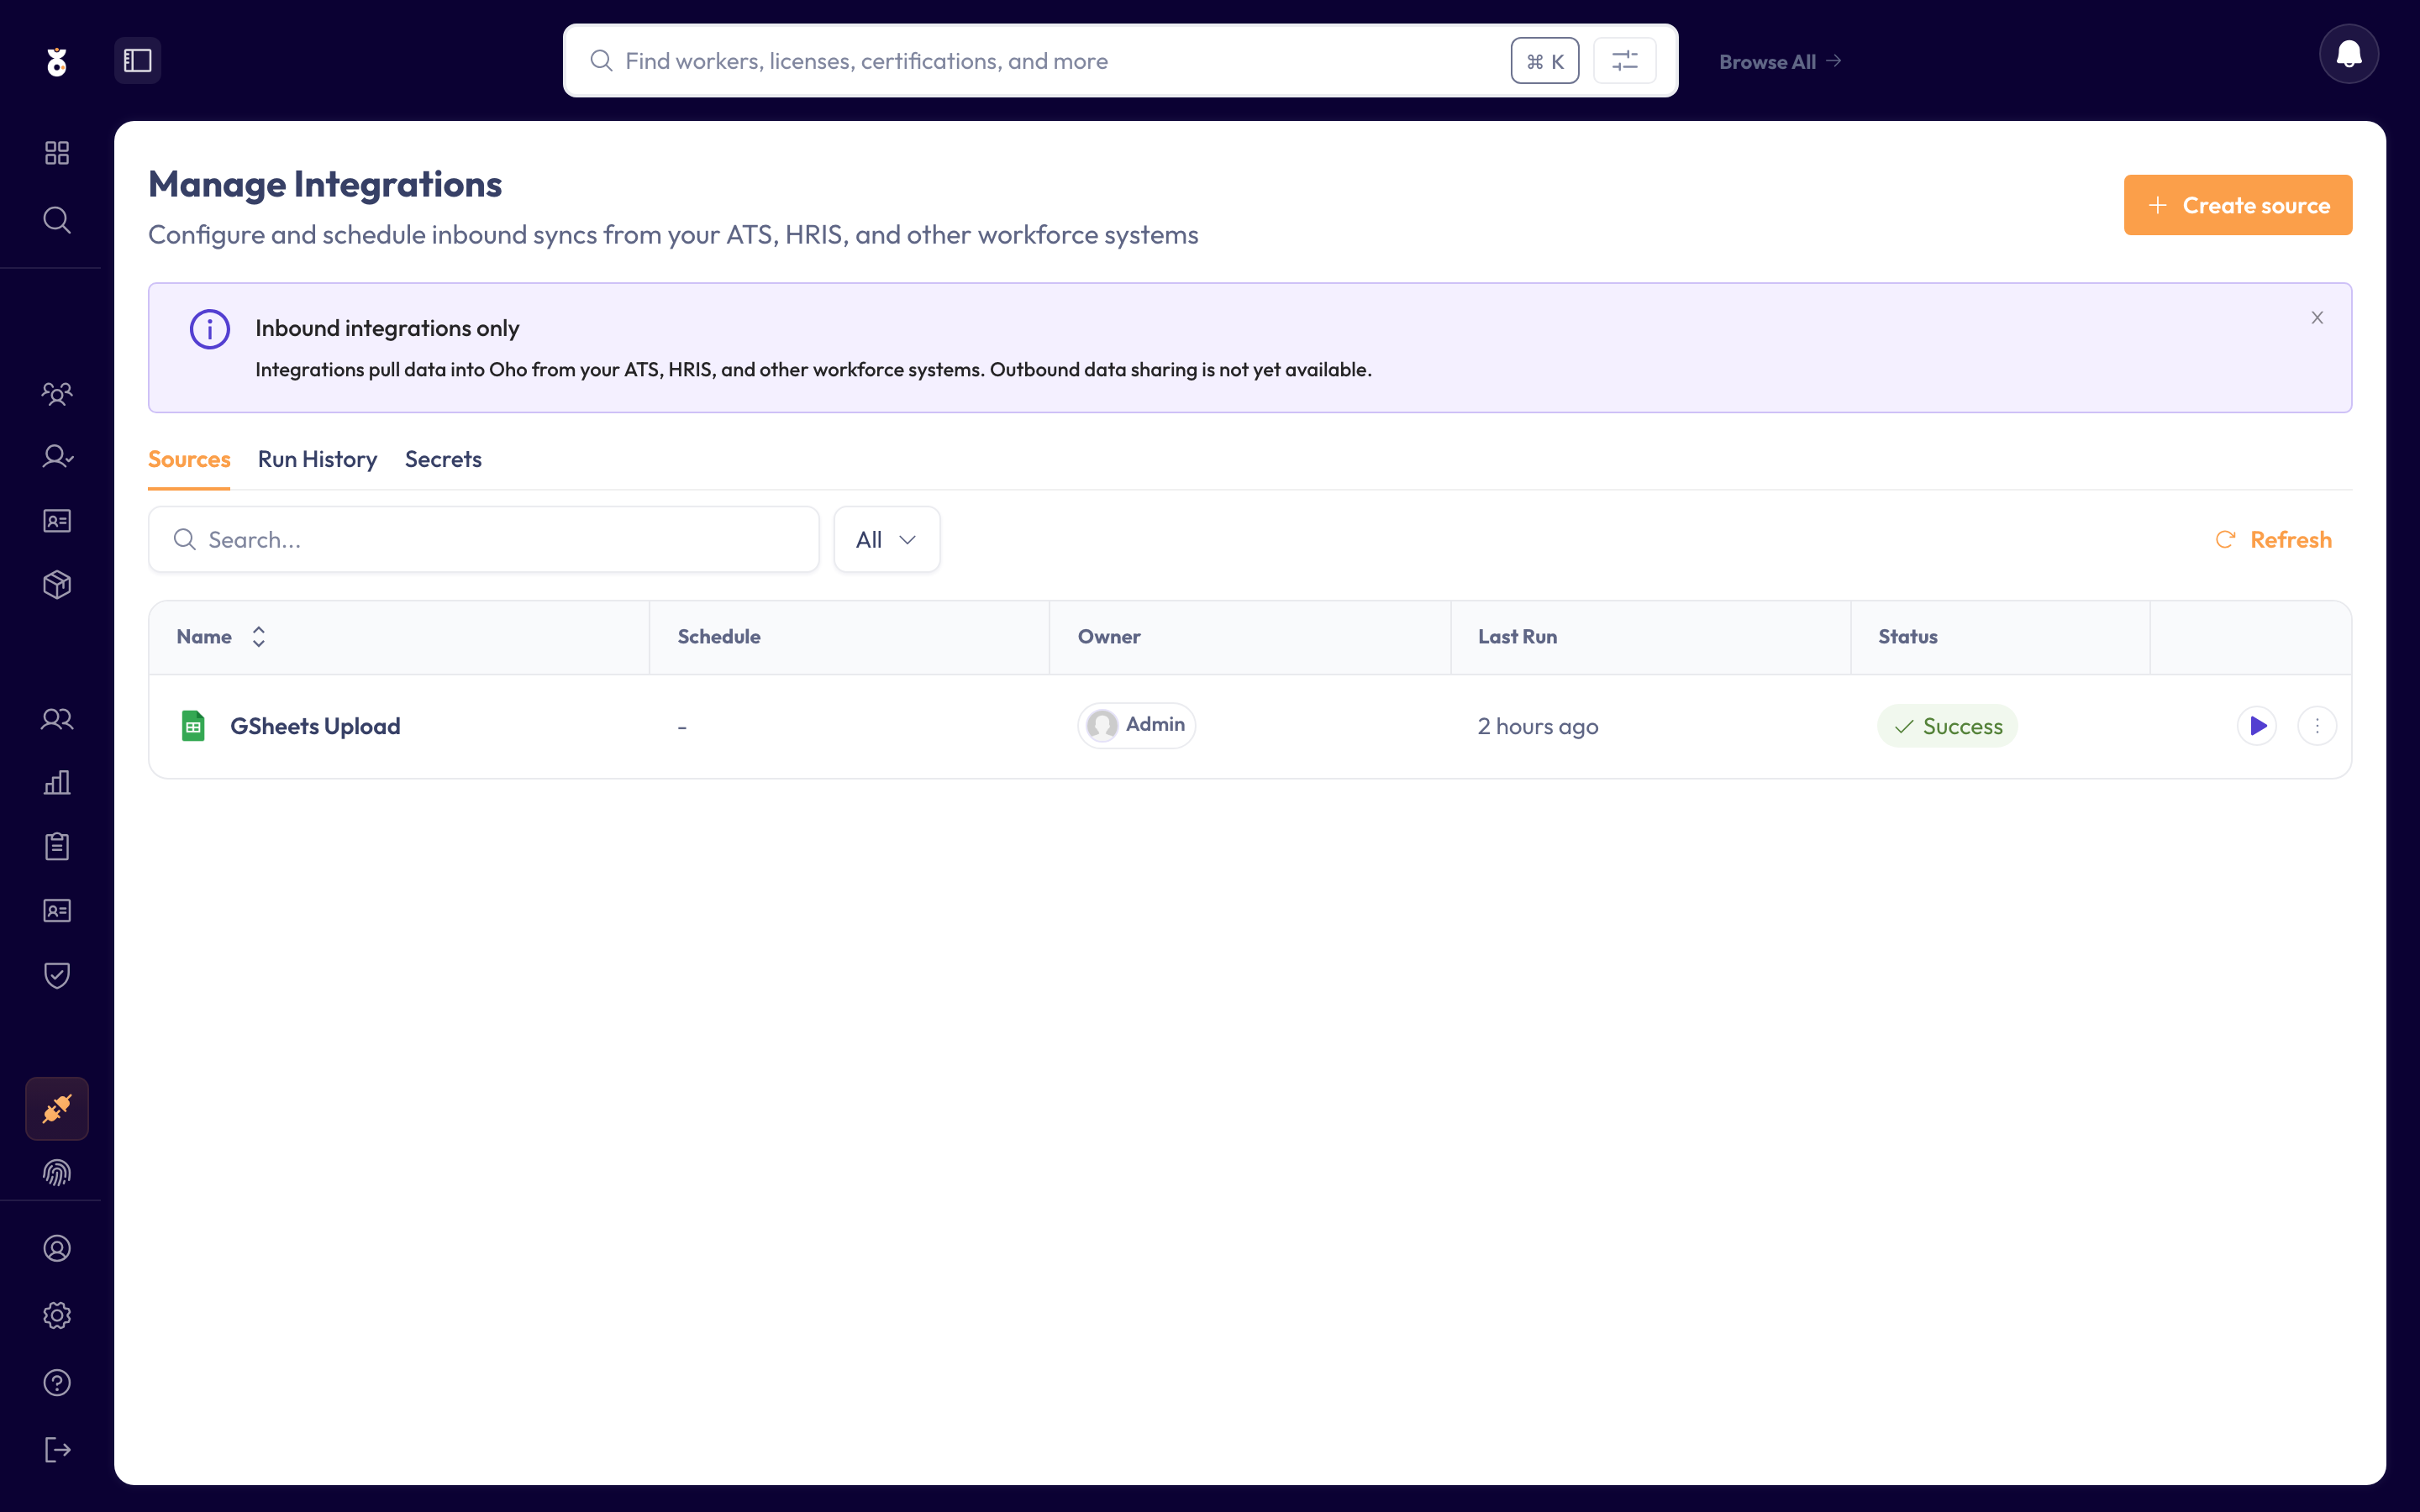
In the left menu under Admin, open Data Sources, then start a new integration.
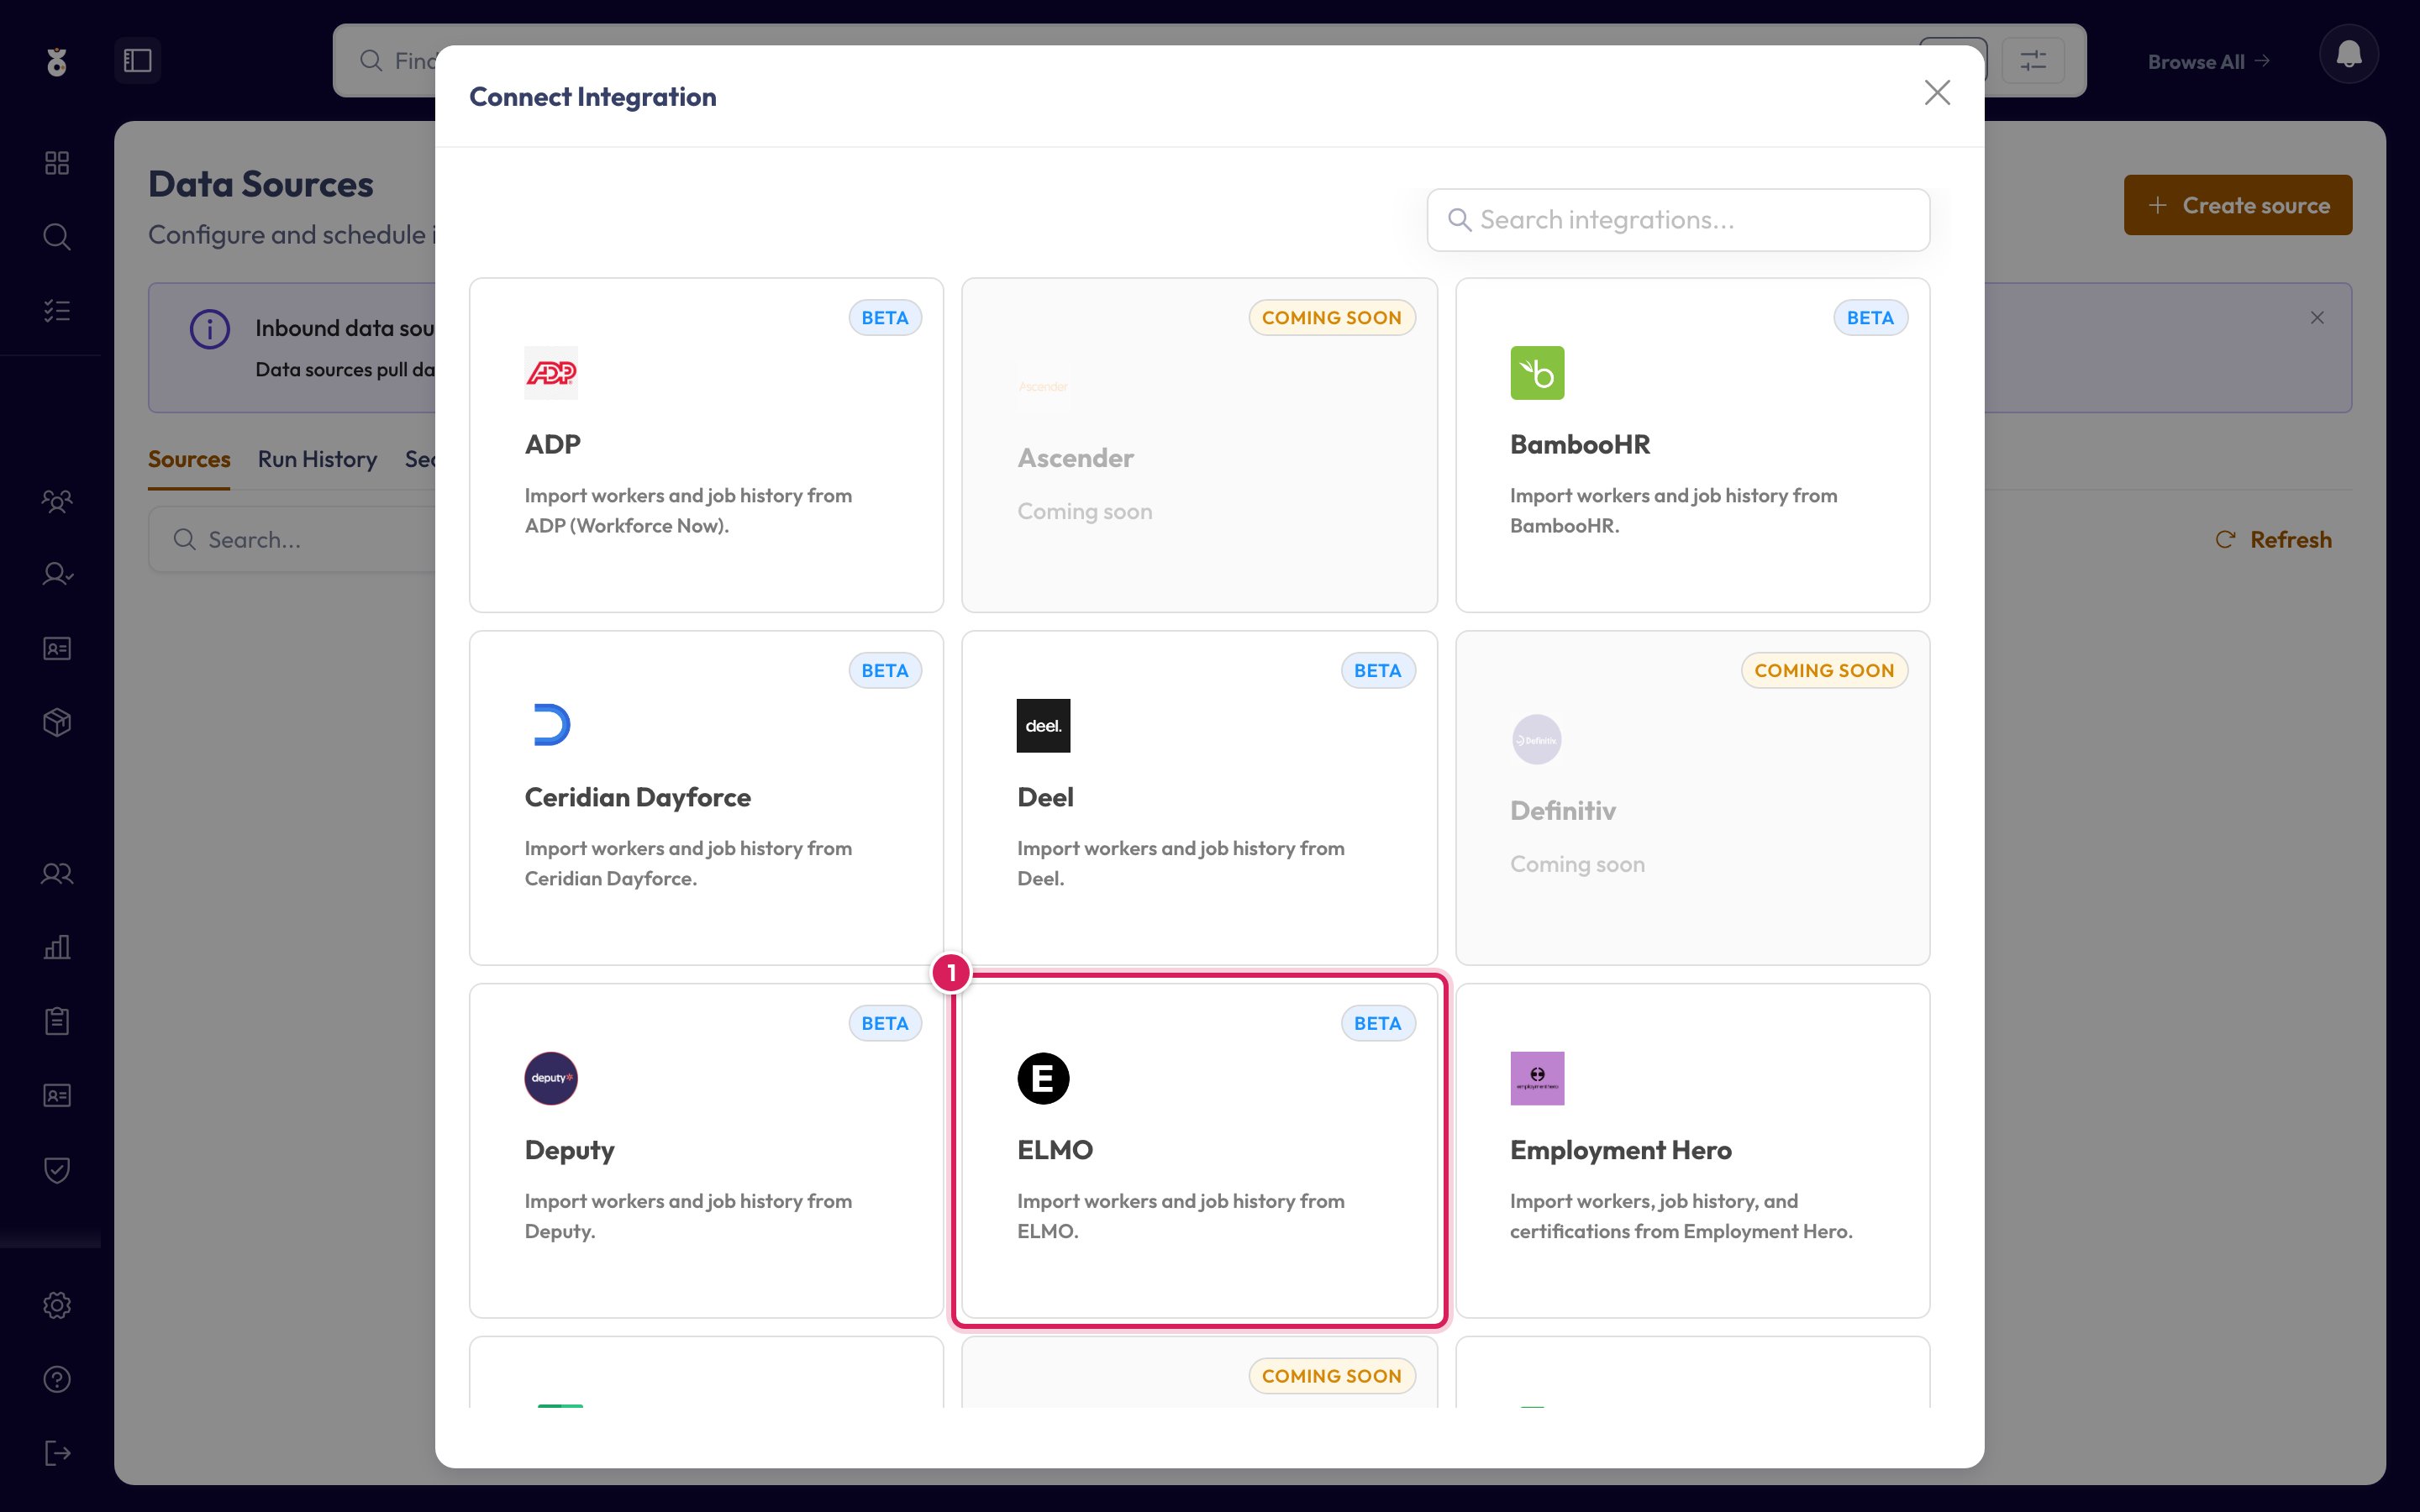
Pick ELMO from the list of sources.
Paste your Client ID and Client Secret, then click Next.
Expected outcome: Oho confirms it can reach ELMO and moves you on to field mapping.
Step 3: Map your fields
Oho creates one worker per ELMO employee. It recognises a returning worker by their ELMO employee ID, carried on source.externalId — so a re-sync updates the existing worker in place rather than creating a duplicate.
ELMO has its own names for things such as status, department, and role; the setup screen asks you to line each one up with its Oho value before your first sync. For what each field expects, which are required, and how re-syncs avoid duplicates, see the shared Map your fields reference, and the ELMO integration reference for what this connector imports at a glance.
An ELMO value you leave unmapped still imports, but Oho can't place it correctly until it's mapped. If a new value appears in ELMO later, Oho flags it so you can map it.
Expected outcome: every ELMO value the setup screen lists maps to its Oho equivalent, and each worker carries their ELMO employee ID as the match key.
Step 4: Set the schedule
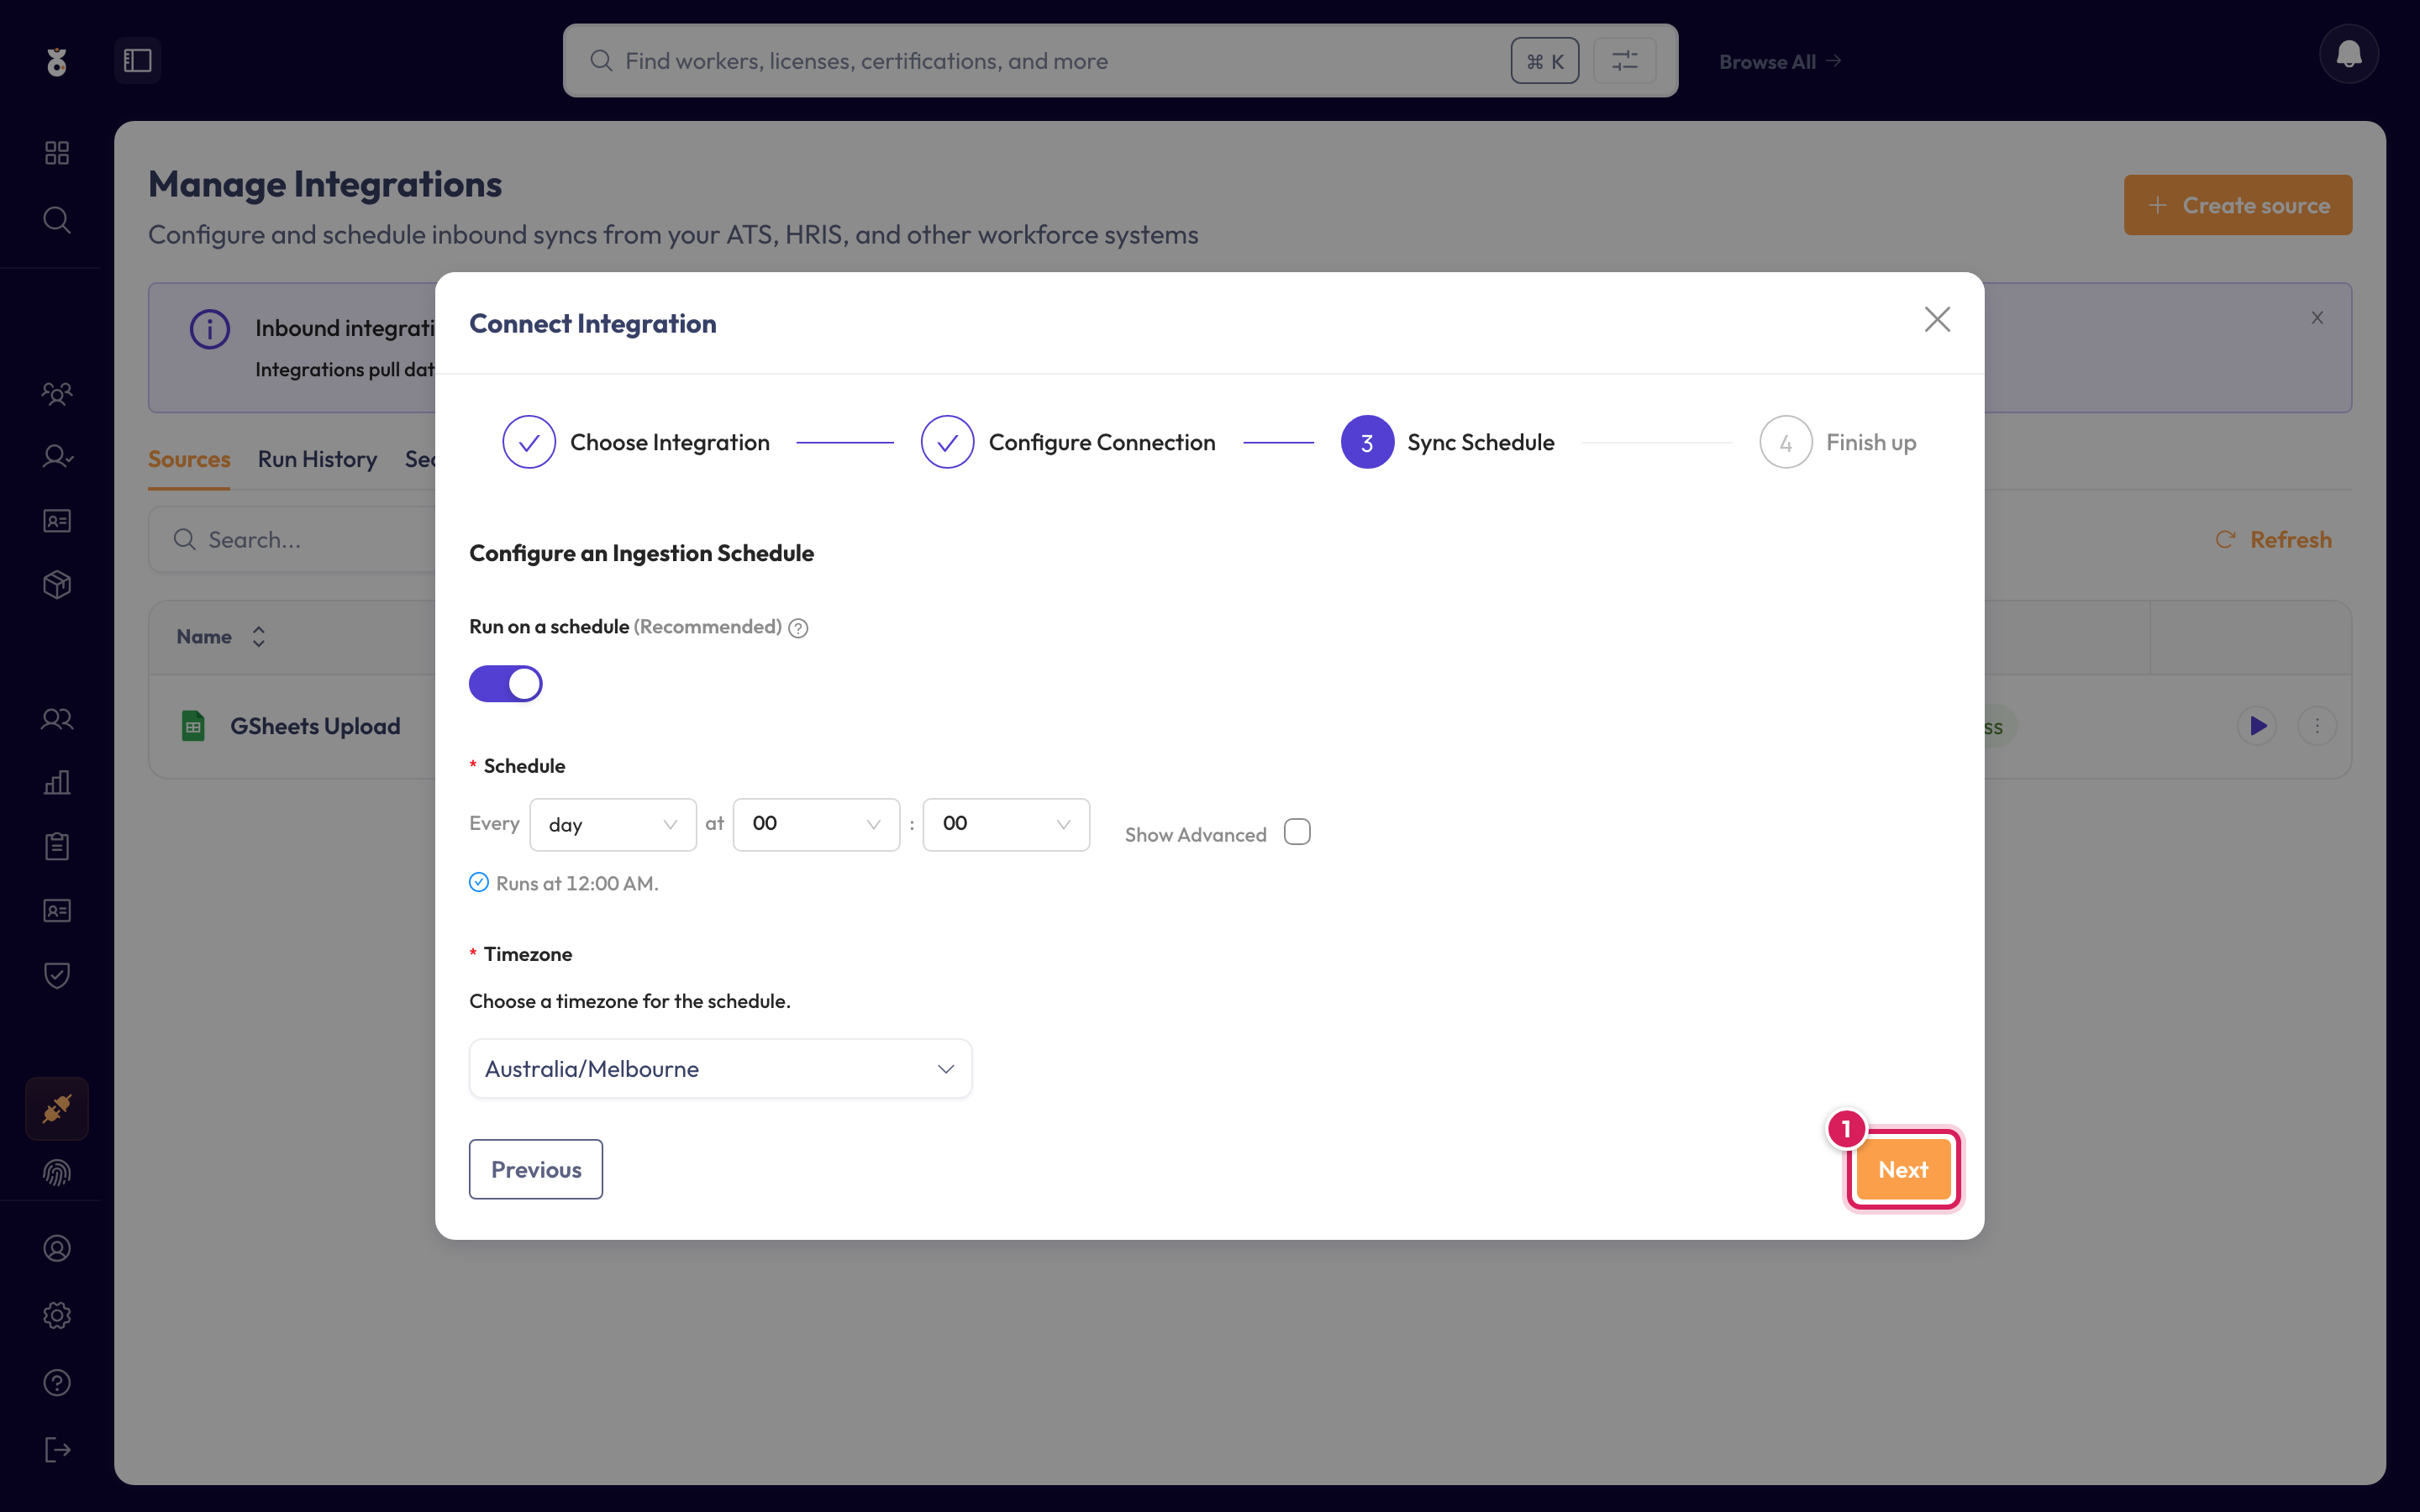
Choose how often the sync runs, then name it and save.
- Once — a one-off load to get started. You can remove the API credential in ELMO afterwards if you don't intend to sync again.
- Recurring — Oho re-reads ELMO on a schedule, so new starters, role changes, and terminations flow through automatically. The credential must stay active and keep its read access for future runs.
Expected outcome: the connection is saved and scheduled, and appears in your Data Sources list.
Step 5: Run & verify your first sync
Run it now with Save & Run, or wait for the first scheduled run. Once it's run, confirm your people are in: they appear under All Workers, and each credential you later add is checked against its official source (see One-off verification).
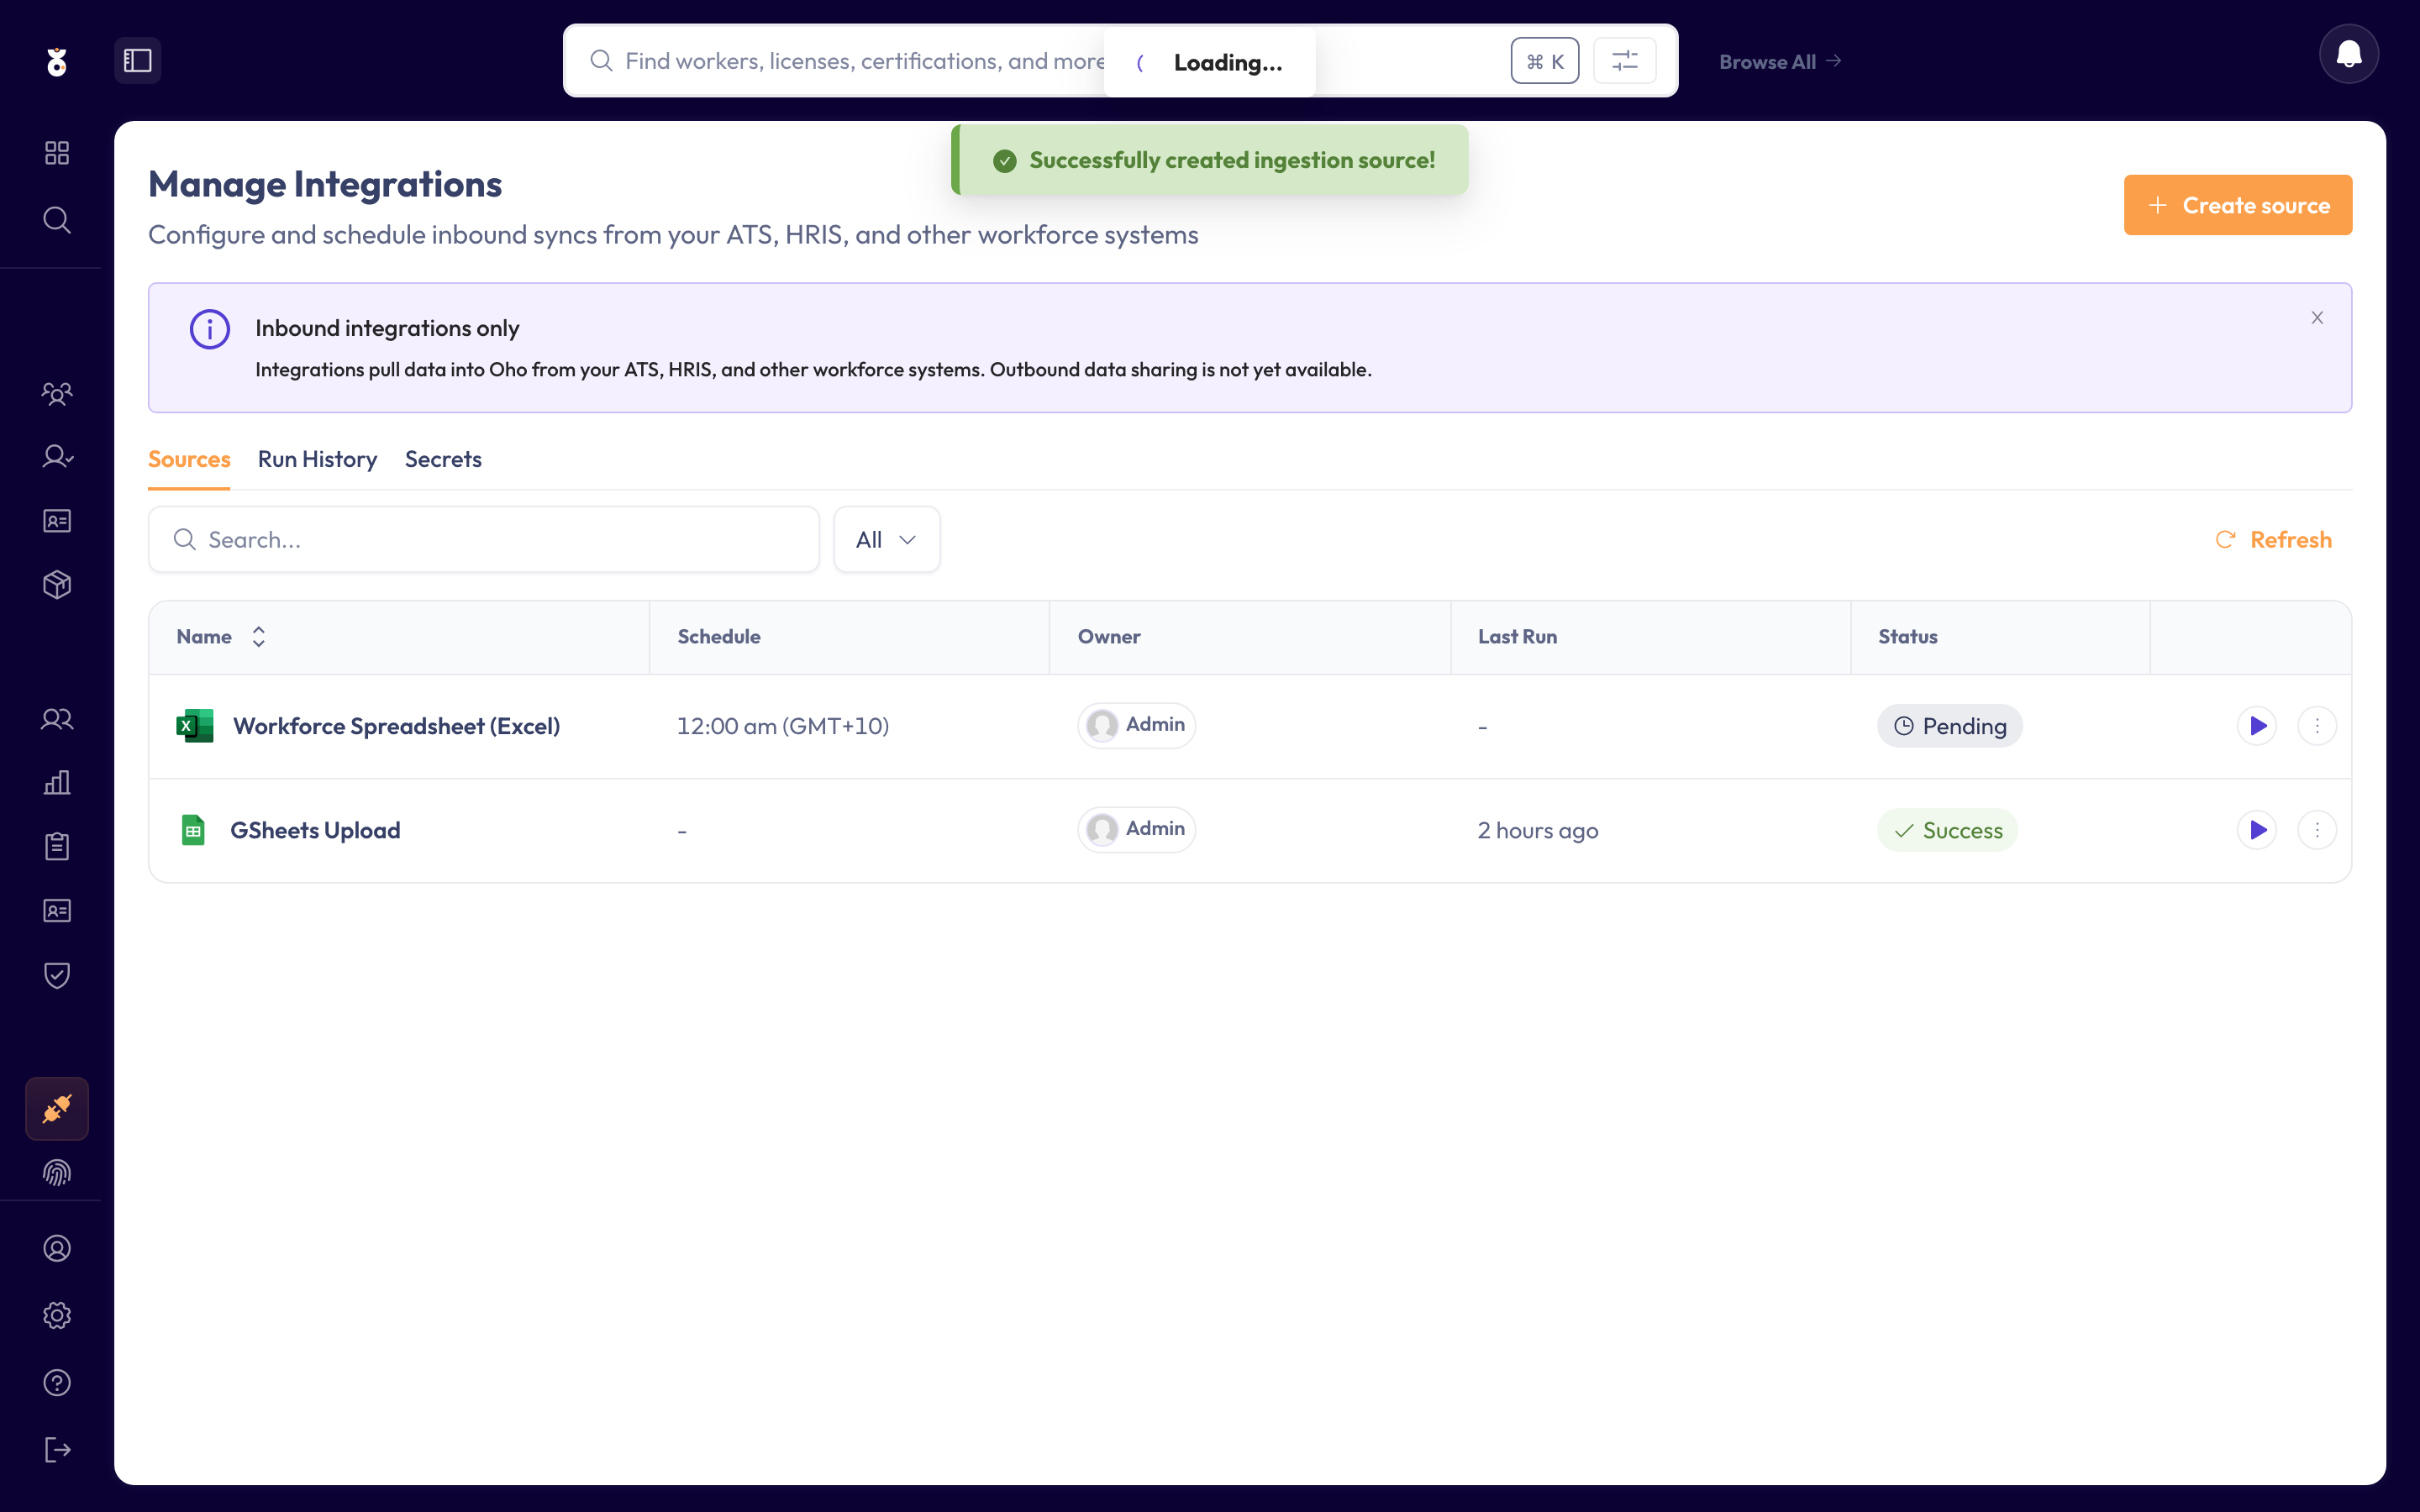
If the run didn't bring everyone in, check the run history and the Common questions below.
Expected outcome: your people are in Oho under All Workers, ready for credentials to be added and checked.
What happens next
- Your people appear under All Workers, ready for checks.
- To keep those checks current, add a verification source for the credential types you hold — synced credentials then verify at the register automatically.
- If recurring, you don't re-import by hand — change it in ELMO and Oho picks it up on the next run.
Common questions
The sync found nothing. The credential most likely lacks read access to employee data — grant it, then run again. Also confirm the Client ID and Client Secret were copied correctly.
Some workers didn't import. Oho matches returning workers on their ELMO employee ID (source.externalId). Check the match key and required fields from Step 3.
I don't see Integrations. This is an admin area — if it's not in your menu, ask an admin in your organisation, or contact support@weareoho.com.
Related
- ELMO integration — what the ELMO connector imports, at a glance
- Add a data source — all the ways to bring data into Oho
- Integrations — every source Oho can connect to