Connect ADP (Workforce Now)
Import your workers and their current job from ADP (Workforce Now), the HR and payroll platform. You connect Oho to ADP once, and Oho creates your workers and keeps them in step with ADP on the schedule you choose — so people don't have to be added in two places.
This connector is still being rolled out. It imports workers and their primary job, along with worker status, reporting lines, and organisation details such as business unit and work location — but not full job history yet. If you hit something unexpected, contact support@weareoho.com.
Your ADP workers in Oho — each ready for credentials to be added and checked — kept in step with ADP, without maintaining two lists.
Before you start
You'll need:
- Your people already recorded in ADP, with the details you want in Oho — their names, contact details, and current job.
- An ADP administrator, or someone with access to ADP API Central, to set up an API application and certificate in Step 1. This connector needs IT involvement, so loop them in early.
- Confirmation that your ADP subscription includes permission to read workers.
Step 1: Get your auth details
Access to ADP API Central (or the ADP Marketplace). The credentials and certificate below are generated inside ADP, not in Oho.
ADP uses OAuth 2.0 with a client certificate. Your ADP administrator registers an API application, which issues the credentials Oho needs.
- In ADP API Central, create a project (application) for the Oho integration.
- Enable the Workers API for the project.
- Generate the project's OAuth credentials — a Client ID and Client Secret.
- Request or upload a security certificate; ADP returns a
.pemcertificate file used to secure the connection.
Technical detail: OAuth, mTLS & certificate expiry
- Oho uses the OAuth client-credentials grant over a mutually authenticated TLS (mTLS) connection — the
.pemcertificate is required on every request, not just at setup. - The certificate has an expiry date. When it lapses the sync stops, so renew it in ADP and reconnect the integration before then.
- If your ADP account is hosted in ADP's European data centres, point the integration at the EU addresses in its advanced settings.
The Client Secret and certificate together grant access to worker PII. Never post them in email, chat, or a ticket, and re-issue them if the connection is removed.
Expected outcome: you have your ADP Client ID, Client Secret, and .pem certificate ready to enter into Oho.
Step 2: Connect it in Oho
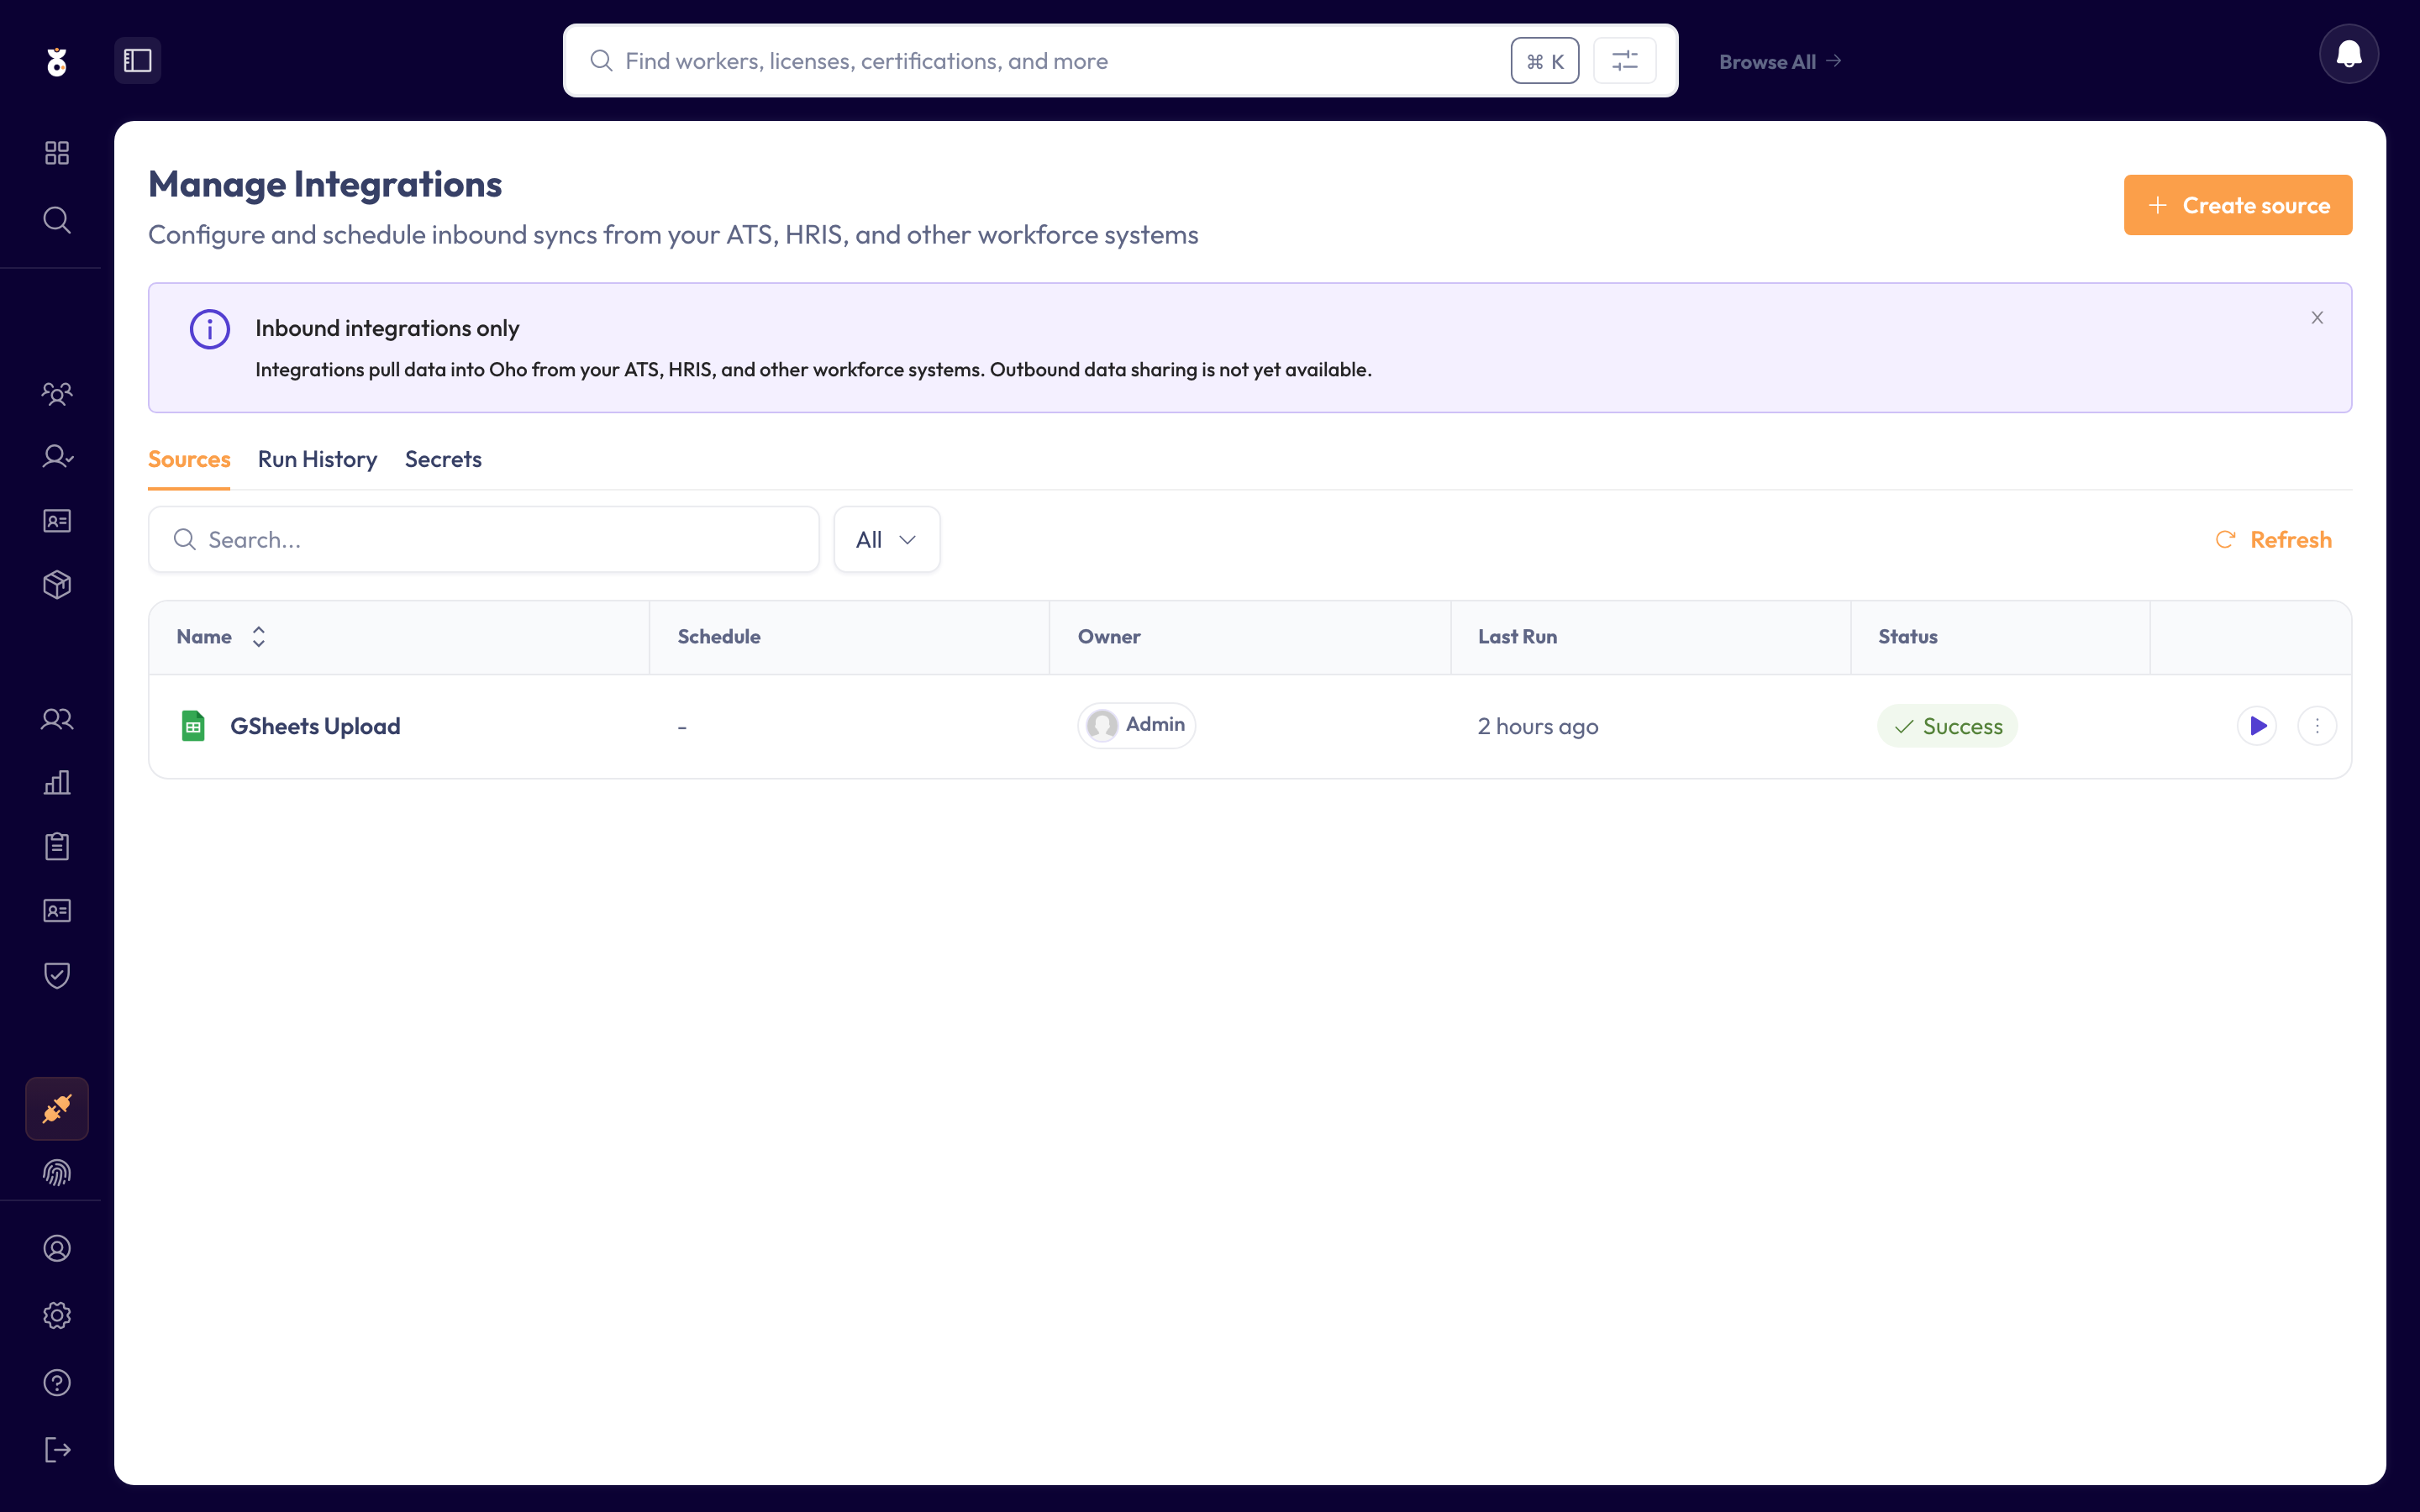
In the left menu under Admin, open Data Sources, then start a new integration.
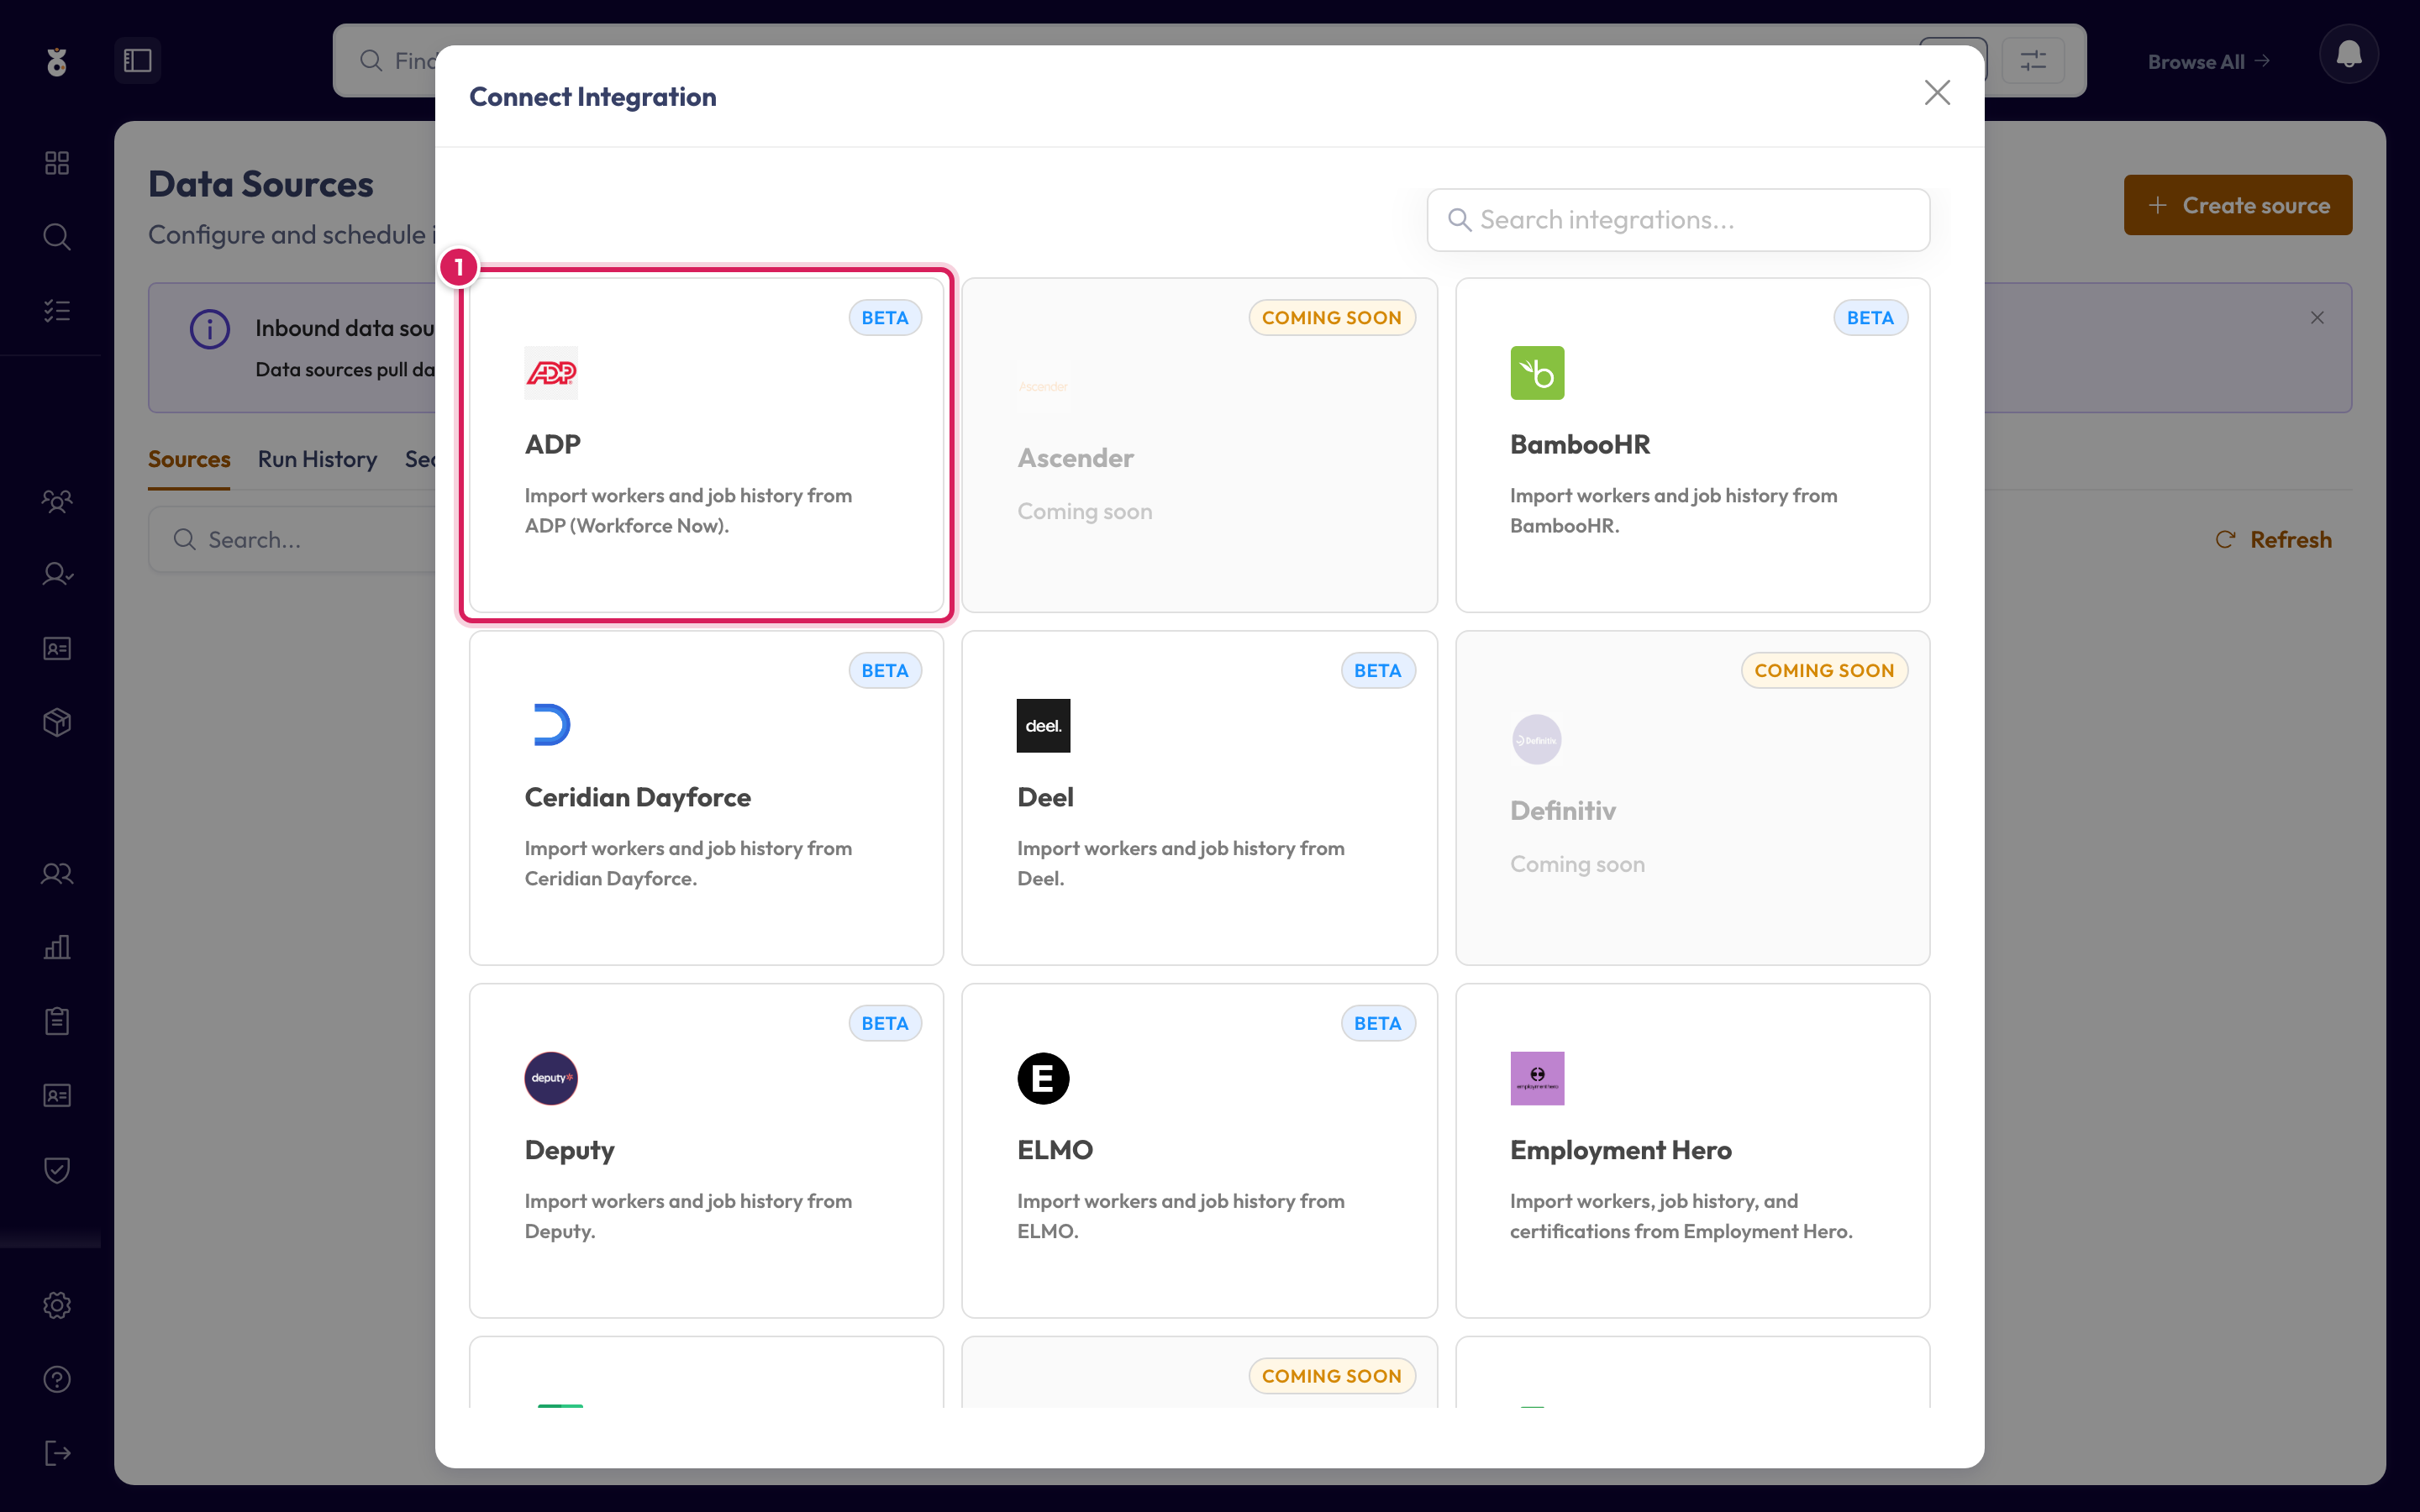
Pick ADP (Workforce Now) from the list of sources.
Enter your Client ID and Client Secret, upload the .pem certificate, then click Next.
Expected outcome: Oho establishes the secure connection to ADP and moves you on to field mapping.
Step 3: Map your fields
Oho creates one worker per ADP worker. It recognises a returning worker by their ADP Associate OID, carried on source.externalId — so a re-sync updates the existing worker in place rather than creating a duplicate.
ADP has its own names for things such as status, business unit, and work location; the setup screen asks you to line each one up with its Oho value before your first sync. For what each field expects, which are required, and how re-syncs avoid duplicates, see the shared Map your fields reference, and the ADP integration reference for what this connector imports at a glance.
An ADP value you leave unmapped still imports, but Oho can't place it correctly until it's mapped. If a new value appears in ADP later, Oho flags it so you can map it.
Expected outcome: every ADP value the setup screen lists maps to its Oho equivalent, and each worker carries their ADP Associate OID as the match key.
Step 4: Set the schedule
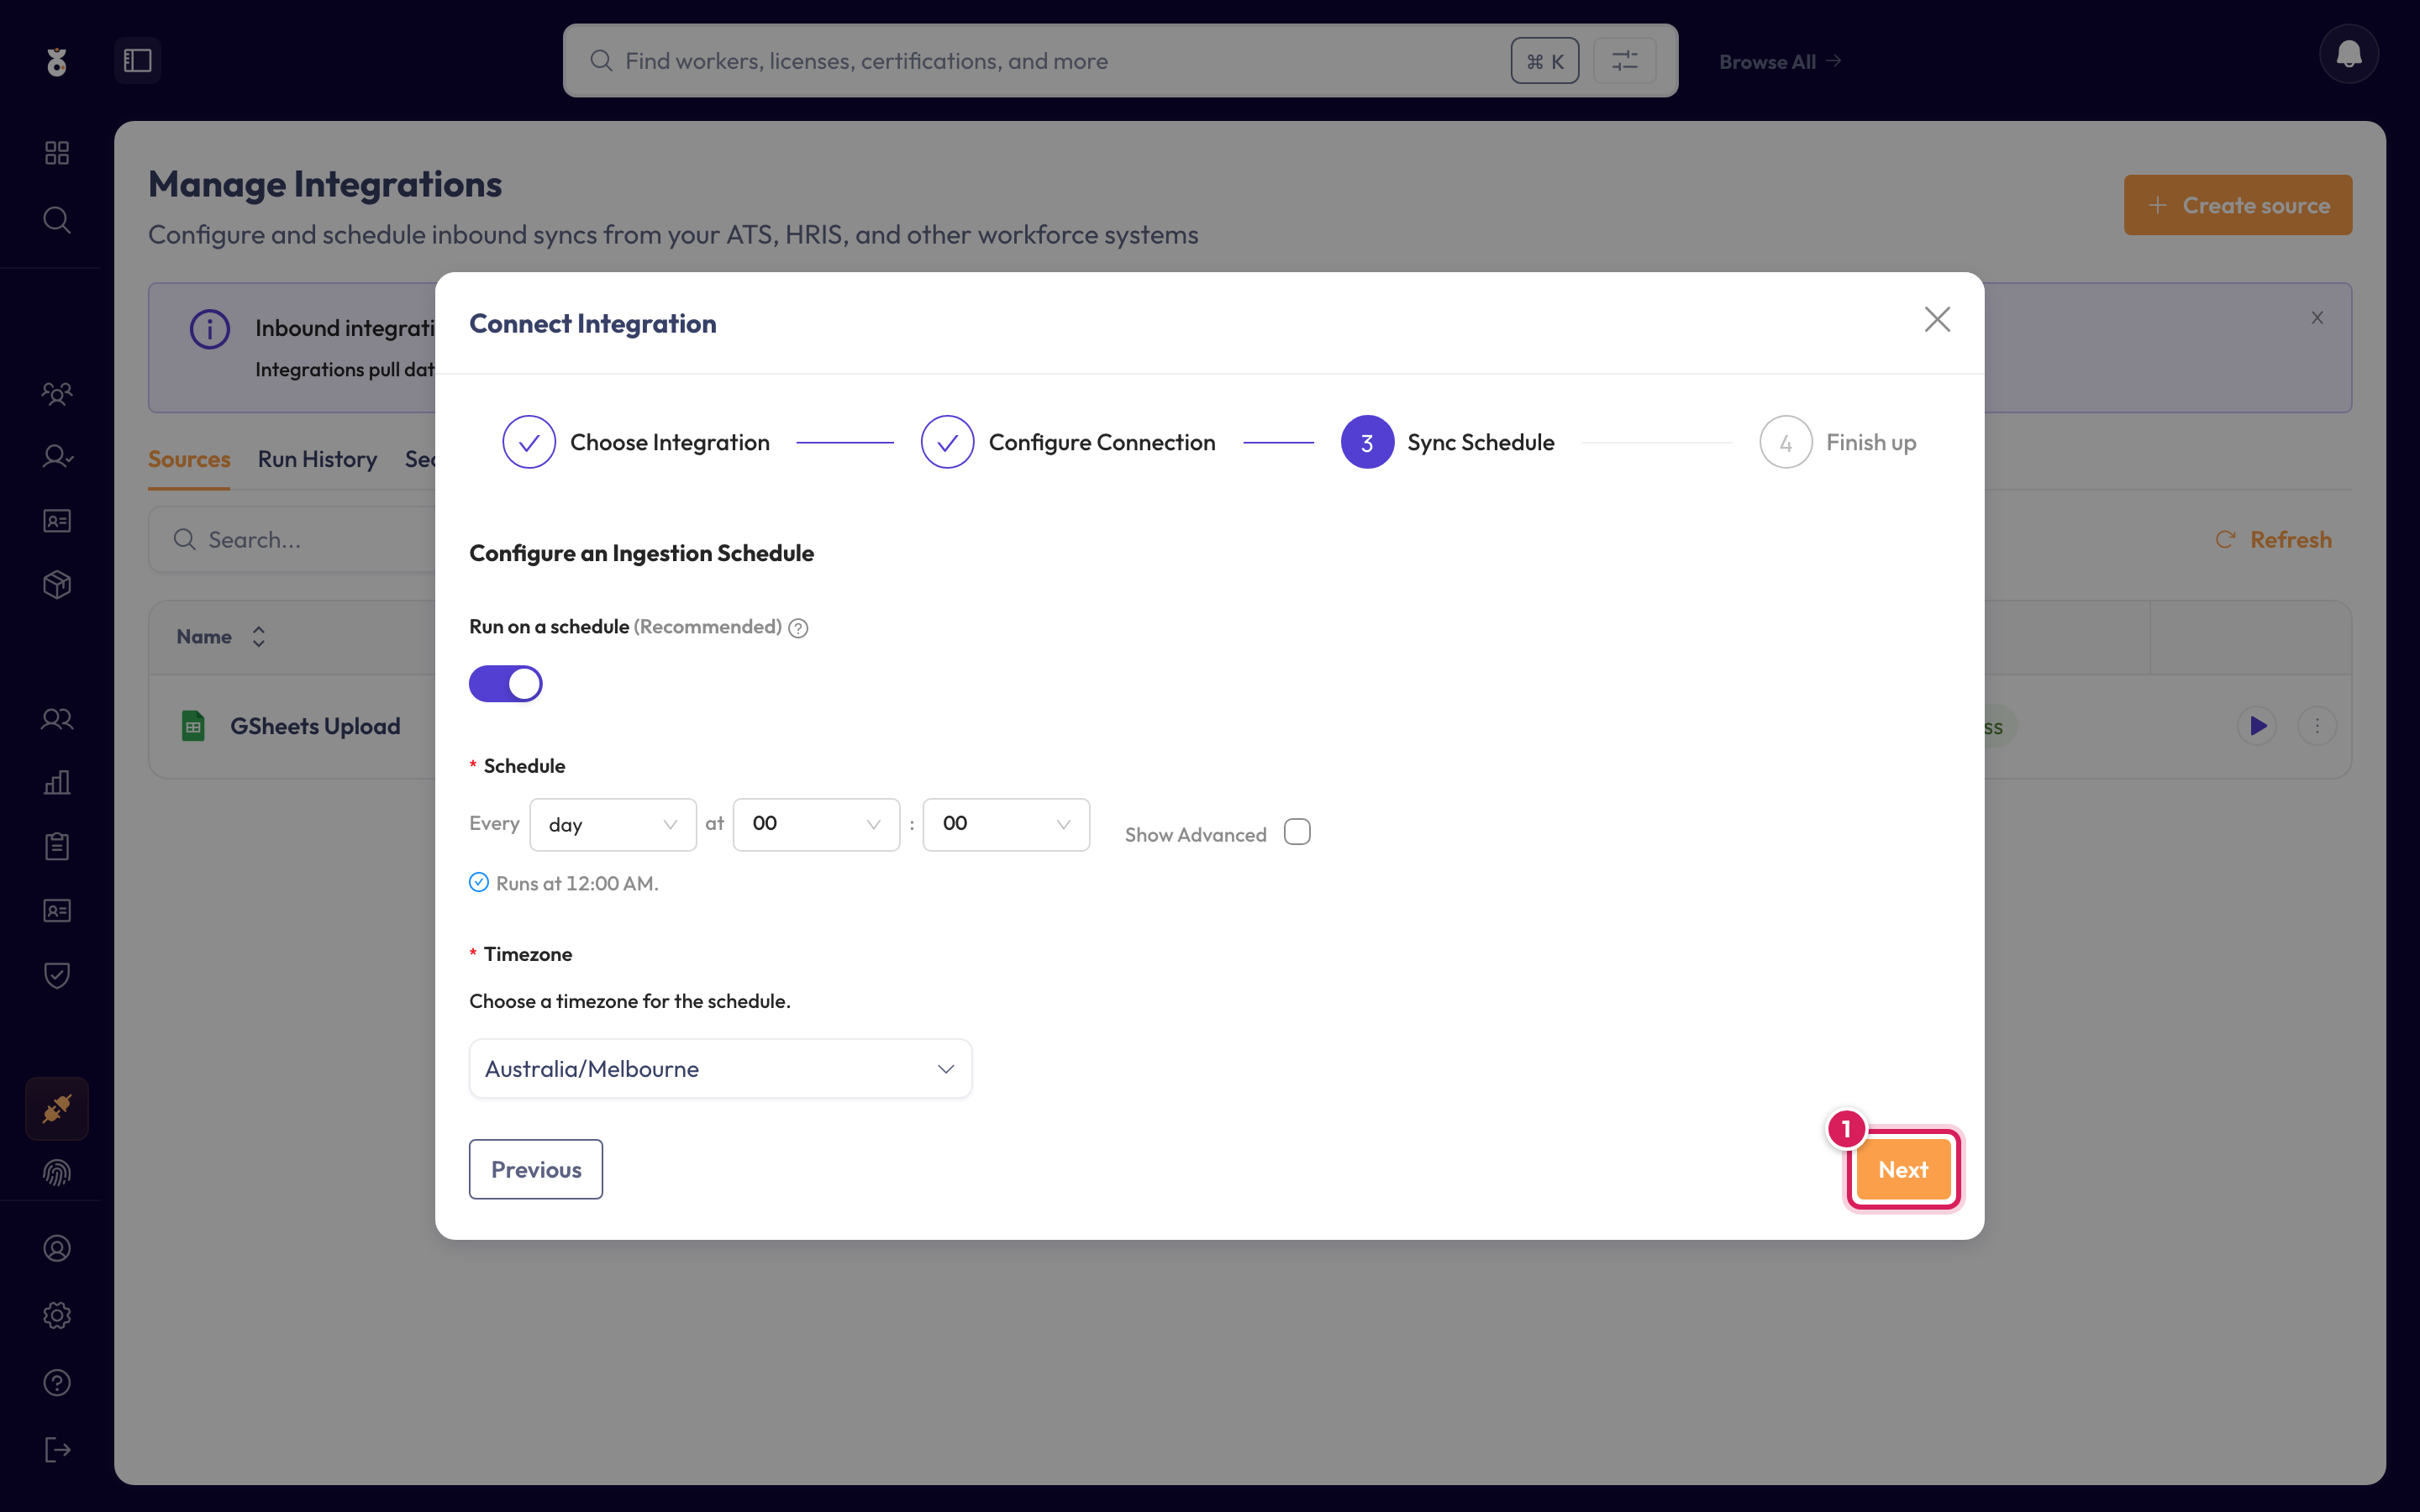
Choose how often the sync runs, then name it and save.
- Once — a one-off load to get started.
- Recurring — Oho re-reads ADP on a schedule, so new starters, role changes, and terminations flow through automatically. The credentials and certificate must stay valid for future runs — watch the certificate's expiry.
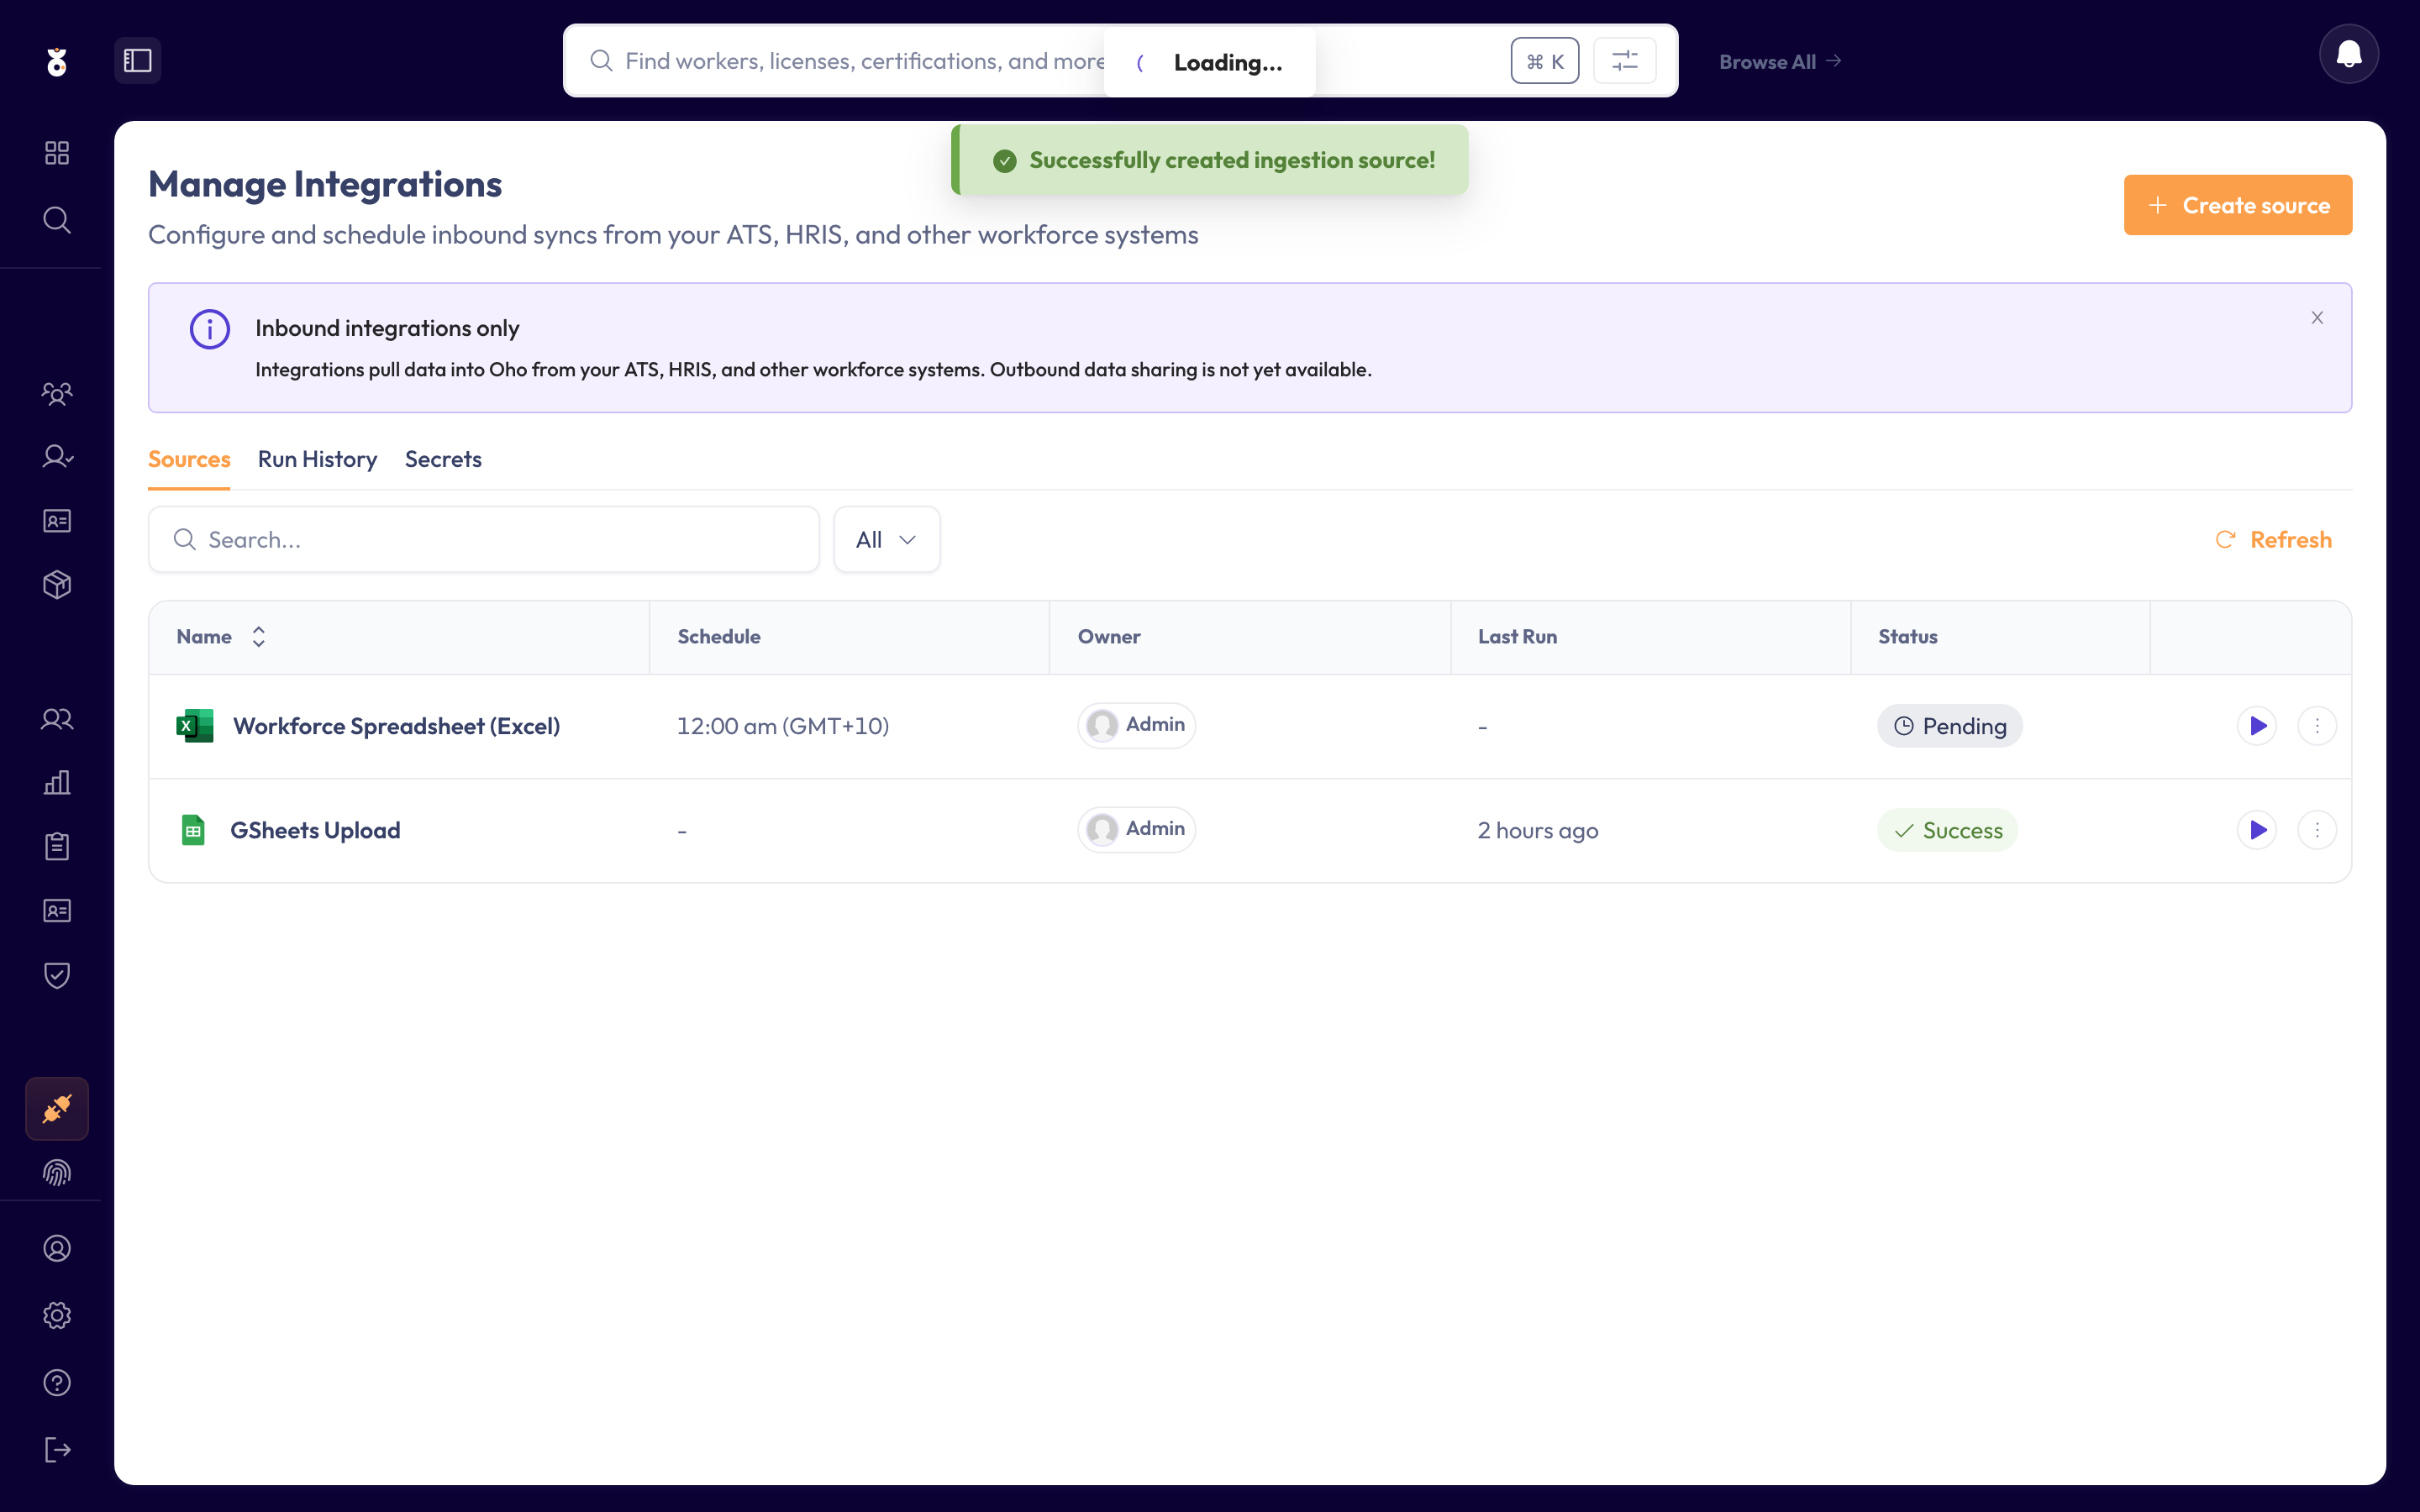
Expected outcome: the connection is saved and scheduled, and appears in your Data Sources list.
Step 5: Run & verify your first sync
Run it now with Save & Run, or wait for the first scheduled run. Once it's run, confirm your people are in: they appear under All Workers, and each credential you later add is checked against its official source (see One-off verification).
If the run didn't bring everyone in, check the run history and the Common questions below.
Expected outcome: your people are in Oho under All Workers, ready for credentials to be added and checked.
What happens next
- Your people appear under All Workers, ready for checks.
- To keep those checks current, add a verification source for the credential types you hold — synced credentials then verify at the register automatically.
- If recurring, you don't re-import by hand — change it in ADP and Oho picks it up on the next run.
Common questions
The sync found nothing. Check the Workers API is enabled on the ADP project and the subscription includes worker access. If the connection fails during setup, the certificate may be wrong or expired — re-upload the current one.
The sync suddenly stopped working. The certificate has most likely expired. Renew it in ADP and reconnect the integration with the new certificate.
Some workers didn't import. Check the match key and required fields from Step 3 — a worker missing a required value won't import until it's populated in ADP.
I don't see Integrations. This is an admin area — if it's not in your menu, ask an admin in your organisation, or contact support@weareoho.com.
Related
- ADP integration — what the ADP connector imports, at a glance
- Add a data source — all the ways to bring data into Oho
- Integrations — every source Oho can connect to